
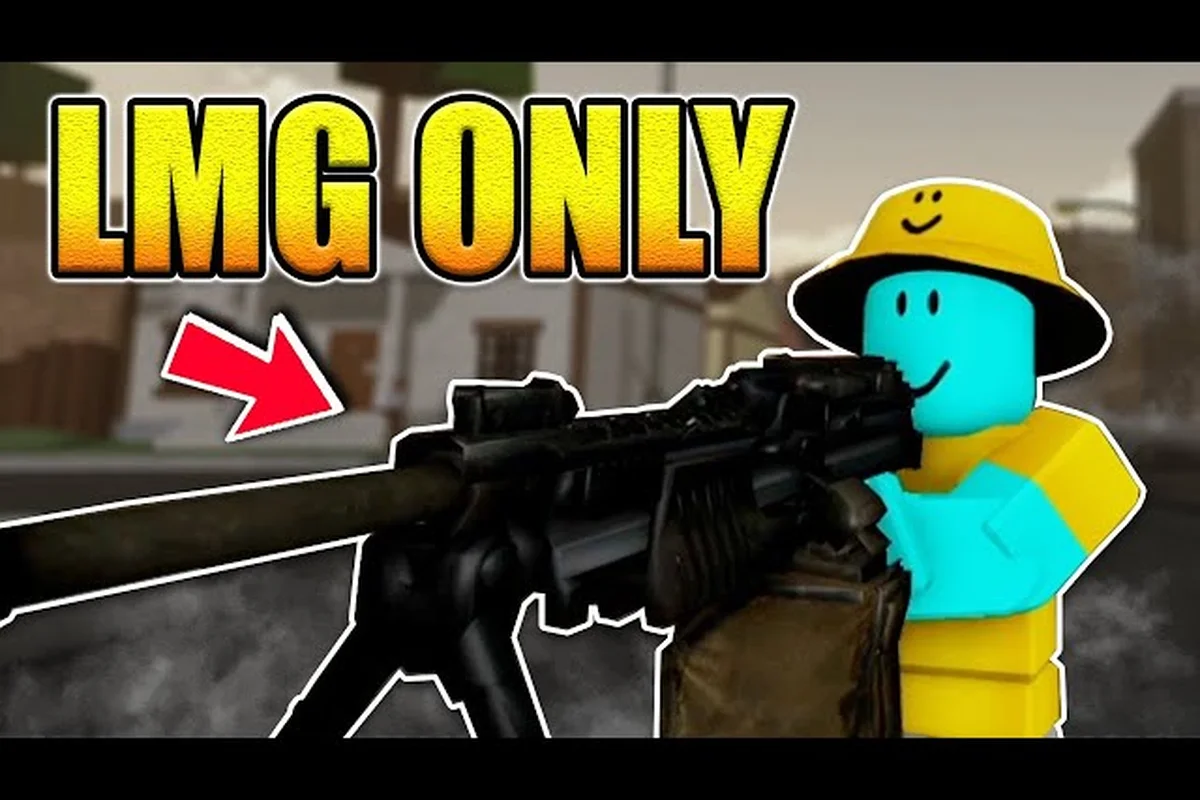
Choosing the right gun in Da Hood can flip a losing gunfight into a clean win, and the heavy-weapon class — anchored by the Da Hood LMG — is where most players find their loudest, most dominant playstyle. The LMG sits at the top of a roster that also includes the SMG, the AR, the AK47, the flamethrower, and the RPG, and each weapon rewards a different tempo. This guide compares all six side by side, breaks down damage and range behavior, and maps each gun to the maps and combat roles where it actually wins fights.
Da Hood Weapon Class Overview: LMG, SMG, AR, AK47, Flamethrower, and RPG
Da Hood's weapon class system splits firearms into distinct combat roles, and the Light Machine Gun (LMG) sits at the top of the suppression category. Community testing on the official Roblox page describes the LMG as a high-capacity, slow-handling weapon designed to lock down corridors and hold choke points rather than chase flick shots. The SMG lives at the opposite end of the spectrum, trading per-bullet damage for an extreme fire rate and a tiny hipfire spread that makes it deadly in close-quarter knife-range duels. The AR (Assault Rifle) bridges those two poles with balanced damage, manageable recoil, and a workable effective range, while the AK47 leans into harder-hitting single taps at the cost of a jumpier recoil pattern.
Below those primary firearms sit two specialist weapons. The Flamethrower dumps a continuous stream of fire that ignores traditional damage falloff and instead applies a stacking burn DoT, which makes it brutal in tight indoor maps but useless across open courtyards. The RPG is the only explosive in the core class, firing a single rocket that deals a large burst on impact and applies a smaller radius of splash damage, so a missed direct hit can still cripple a grouped squad.
| Weapon | Slot | Fire Mode | Best Range | Ammo Capacity | Skill Floor |
|---|---|---|---|---|---|
| LMG | Heavy | Full-auto | Mid–Long | 100+ | High |
| SMG | Secondary | Full-auto | Close | 30–50 | Low |
| AR | Primary | Full-auto | Mid | 30 | Medium |
| AK47 | Primary | Full-auto / Semi | Mid | 30 | Medium–High |
| Flamethrower | Heavy | Continuous | Close | Fuel tank | Low |
| RPG | Heavy | Single-shot | Any | 1–2 rockets | Medium |
The table above frames the rest of this article. Before you drop cash on the Da Hood LMG, it helps to understand what each of these weapons actually does in a real fight and where the rest of the class fits in.
Damage and Range Behavior
Damage curves in Da Hood are not flat. Most automatic weapons lose a chunk of per-bullet damage past a soft range threshold, and the further the target, the steeper the drop. The LMG keeps a flatter curve than the AR, which means its per-bullet damage at 60 studs is noticeably closer to its 10-stud damage than the AK47's 60-stud damage is to its 10-stud damage. The SMG drops off fastest, and the RPG ignores the curve entirely because the splash component uses a separate calculation.
Ammo, Reload, and Mobility Cost
Heavy weapons punish movement. The LMG drops your walkspeed and jump height while equipped, the RPG cuts sprint speed while the rocket is chambered, and the Flamethrower reduces strafe speed the moment you start firing. SMGs and ARs impose almost no mobility tax, which is why many players treat them as default pickups even when a heavier gun is technically stronger.
Da Hood LMG Deep Dive: Sustained Fire and Suppression
The Da Hood LMG is the loudest gun in the core class, and its design rewards players who commit to holding ground. It feeds from a large magazine — community testing places the default capacity somewhere in the 100–150 round range depending on the variant — and that reserve gives the weapon a "lay down fire and walk" feel that no other automatic matches. The trade-off is handling: the LMG's recoil is moderate but its sights-recovery time is long, so a missed burst often turns into three full seconds of vulnerability while the barrel settles.
| Stat | Da Hood LMG (typical) | Comparison |
|---|---|---|
| Per-bullet damage | Medium | Lower than AK47, higher than SMG |
| Fire rate | Medium-slow | Slowest among full-auto primaries |
| Effective range | 50–80 studs | Flatter than AR past 60 studs |
| Magazine | 100+ rounds | 3–4× the AR's magazine |
| Mobility tax | High | Slowest walkspeed while equipped |
| Recoil recovery | Slow | Hard to recenter on flick targets |
The LMG's signature strength is suppression. A player who lands the first burst keeps firing into the same cone and forces the opponent to break line of sight, because peeking out of cover while 100+ rounds are pouring into the wall is a guaranteed trade loss. That pressure is what makes the LMG the dominant weapon in tight, chokepoint-heavy maps like the alleyways around the bank and the indoor stairwells in the Projects.
When the LMG Wins
Pick up the Da Hood LMG when the fight happens within 60 studs, when the map funnels enemies into predictable lanes, and when your squad already has an AR or SMG player to cover flanks. The LMG's weakness is exactly what those weapons cover: it cannot chase a strafing target across an open courtyard, but it absolutely shreds anyone who tries to peek into a hallway you are already aiming down.
When to Drop the LMG
Switch off the LMG the moment the fight moves outside. Open maps like the parking lot and the rooftop of the school reward ARs and AK47s because both weapons recenter faster and let you reposition between bursts. The RPG is also a better pick when the enemy is dug in behind a single solid cover object, because one rocket deletes the cover and the defender behind it.
Da Hood SMG and AR: Close-Quarter Speed and Mid-Range Versatility
The Da Hood SMG is the fastest gun in the class, and it owns anything that happens within 20 studs. Its damage-per-bullet is the lowest in the automatic category, but the fire rate compensates, and the resulting time-to-kill at knife range is shorter than the LMG's. The trade-off is catastrophic range falloff: an SMG duel at 50 studs usually loses to an AR duel at 50 studs, because the AR's per-bullet damage is still near maximum at that distance while the SMG's has already dropped into single digits.
The Da Hood AR is the most flexible weapon in the entire class. It deals solid damage up close, holds that damage into mid-range, and recovers from recoil fast enough to track a strafing opponent. Most experienced players treat the AR as the default pickup and only swap to a specialist weapon when the map or squad comp demands it. If you are still learning the recoil pattern, the Da Hood beginner guide walks through the muzzle-climb timing that the AR actually requires.
| Scenario | Best Pick | Why |
|---|---|---|
| Indoor knife-range duel | SMG | Fastest TTK below 20 studs |
| Mid-range open-field fight | AR | Flat damage curve and clean recoil |
| 1v1 against a flick player | AR | Easier to recenter than LMG or AK47 |
| Hold a tight chokepoint | LMG | Suppression beats peek-duels |
| Cross-map angle hold | AR / AK47 | Range falloff flattens out |
| Anti-vehicle or anti-cover | RPG | Splash deletes walls and cars |
Pairing the SMG and AR
A common loadout pattern is to keep the AR as your primary and switch to the SMG for any fight that closes into knife range, because the AR's recoil becomes a liability at point-blank. Many players also carry a secondary SMG specifically for the "rusher" role, while a heavier teammate holds the LMG or RPG from a back line. That two-weapon squad composition covers the full range spectrum without any one player having to compromise their gun's specialty.
Da Hood AK47, Flamethrower, and RPG: Specialist Picks
The Da Hood AK47 is the highest-skill automatic in the class. Its recoil pattern is sharper than the AR's, but its per-bullet damage is higher, and skilled players can land three-tap bursts at mid-range that no AR or LMG user can match. The AK47 is also the most forgiving automatic in semi-auto, because the single-tap damage competes with the LMG's sustained pressure on a per-shot basis. If you have not yet built the muscle memory for the AK47, the Da Hood starting out page covers the movement fundamentals that AK duels demand.
The Da Hood flamethrower is a niche weapon that wins a single specific scenario: a defender hiding behind a soft cover object that blocks bullets. The flame stream applies a burn DoT that ticks for several seconds after the initial hit, so a single sustained spray can kill a player who ducked behind a crate. Outside of that scenario, the flamethrower is easy to dodge, easy to out-range, and a liability in any open-field fight.
The Da Hood RPG is the only weapon in the class that deals explosive splash damage. A direct hit removes most of an opponent's health, and a near miss in a clustered group can trade one rocket for two or three kills. The cost is a one-rocket magazine and a long reload, which means missed shots are extremely punishing. The RPG also penetrates some soft cover, so firing at the wall a defender is hiding behind can still score a kill.
Damage and Role Comparison
| Weapon | Single-target Burst | AoE | Cover Penetration | Role |
|---|---|---|---|---|
| LMG | Medium (sustained) | None | None | Suppression / Lane hold |
| SMG | Low (very fast) | None | None | Rush / Knife-range |
| AR | Medium | None | None | All-purpose mid-range |
| AK47 | High | None | None | Burst / Tap duels |
| Flamethrower | Medium + burn DoT | Cone AoE | Soft cover only | Anti-camp |
| RPG | Very high | Splash radius | Some soft cover | Anti-cover / Anti-group |
Choosing Between the AK47, Flamethrower, and RPG
Pick the AK47 when you want a mid-range weapon that rewards aim, the flamethrower when the enemy is camping a soft-cover object indoors, and the RPG when the enemy is behind hard cover or grouped up. None of these three are great default picks, which is why the LMG, SMG, and AR dominate the average loadout slot — but a player who knows exactly when to swap to a specialist weapon can swing fights that default-loadout players cannot.
Map-by-Map Loadout Recommendations for Da Hood
The map is the single biggest variable in a Da Hood fight, and the same loadout can be dominant on one block and useless on the next. Below is a per-map recommendation grid that pairs each high-traffic location with the weapon that wins there most often, based on community testing reported by players and behavior data from the official Da Hood Roblox page.
| Map / Area | Best Primary | Best Specialist | Why |
|---|---|---|---|
| Bank interior | LMG | RPG | Long lanes and hard cover |
| Bank exterior | AR | AK47 | Open courtyard with mid-range angles |
| Projects hallways | LMG | Flamethrower | Tight chokepoints and soft cover |
| School rooftop | AR | RPG | Long sight lines, no soft cover |
| Parking lot | AK47 | RPG | Open ground, mid-range duels |
| Back alleys | SMG | Flamethrower | Constant knife-range encounters |
| Apartment stairs | LMG | RPG | Vertical chokepoints and hard cover |
Reading the Lobby Before You Buy
Before spending cash on a heavy weapon, look at the lobby composition. If the opposing team has two or more rushers, the LMG and RPG punish their peek timings. If the opposing team has a long-range anchor, the AR and AK47 let you return fire without losing the duel. Many newer players also keep the Da Hood level up guide handy because money management is what determines whether you can afford a specialist weapon in the first place.
Money Management and Weapon Swaps
The LMG, RPG, and Flamethrower all sit at the top of the price tier, and buying one on a partial wallet often leaves you unable to re-buy if you die without a kill. A common rule of thumb reported by community testing is to only buy a heavy weapon when your wallet is comfortably above its price by at least 30%, so a single death still leaves you enough to re-equip your secondary. The AR, SMG, and AK47 are cheaper and more forgiving in that regard, which is another reason they are the most-picked weapons in the class.
Advanced Tips and Common Mistakes with the Da Hood LMG and Heavy Weapons
Once you have the basics down, the difference between a decent and a great heavy-weapon player comes down to a handful of small habits. The tips below are the ones that show up most often in community testing reports and in player write-ups.
-
Pre-aim the LMG at chest height. Because the LMG's recoil recovery is slow, the time you save by not having to drag the crosshair up from the hip is the time you need to land the killing burst.
-
Never chase a strafing target with the LMG. Switch to the AR or SMG instead. Trying to track with the LMG is the most common reason LMG users lose open-field duels.
-
Treat the RPG as a utility weapon. Firing at the cover object the enemy is hiding behind often scores kills that a direct shot would miss, especially on the school rooftop and the bank vault.
-
Use the flamethrower's cone, not the crosshair. The flame stream is wider than the reticle suggests, and aiming center-mass burns the fuel tank faster than aiming at the feet.
-
Save the AK47 for mid-range duels. The AK47's single-tap damage at 40 studs is one of the highest in the class, but its close-range performance is worse than the SMG's because the per-bullet damage is wasted on a target you could have killed in fewer bullets with a faster gun.
Mistakes to Avoid
| Mistake | Why it Hurts | Fix |
|---|---|---|
| Buying the LMG with an empty wallet | One death means no re-buy | Save 30% above the price first |
| Hipfiring the LMG at long range | Damage falloff + no recoil control | Aim down sights and burst |
| RPG spamming on single targets | Wastes the splash advantage | Save rockets for groups or cover |
| Flamethrower in the open | Easy to dodge and out-range | Only use indoors or at doorways |
| AK47 full-auto at close range | Wastes its per-bullet damage edge | Switch to SMG inside 20 studs |
The single biggest mistake new heavy-weapon players make is overcommitting to a single gun instead of building a loadout that covers multiple range bands. The LMG, SMG, AR, AK47, flamethrower, and RPG each have a clear specialty, and the loadout that wins most matches is the one that combines a primary for your main engagement range with a specialist for the scenario the enemy keeps forcing.
Final Thoughts on Choosing the Right Da Hood Heavy Weapon
The Da Hood LMG is the suppression king of the class, the SMG owns the knife-range, the AR is the most flexible default, the AK47 rewards aim with the highest per-shot damage, the Flamethrower deletes campers behind soft cover, and the RPG turns cover and groups into kills. None of these weapons is universally the best — the right pick depends on the map, the squad comp, and your personal aim style. Build a loadout that covers two range bands, save enough money to re-buy after a death, and you will win more gunfights with the heavy class than you lose.
Frequently Asked Questions
Is the Da Hood LMG worth buying over the AR?
The Da Hood LMG is worth buying when the fight happens in a tight lane or a chokepoint-heavy map, because its 100+ round magazine lets you lay down sustained suppression that no AR can match. On open maps like the parking lot or the school rooftop, the AR is the better pick because its faster recoil recovery and mobility tax make it easier to reposition between bursts. If you can only afford one, default to the AR and switch to the LMG when the map changes.
What is the best Da Hood weapon for beginners?
The AR is the best beginner weapon because its recoil pattern is the most forgiving in the class, its damage curve is flat enough to handle both close and mid-range fights, and its price is low enough that dying without a kill does not bankrupt your wallet. The SMG is a strong second pick for players who only fight at knife range, and the LMG should wait until you can consistently land controlled bursts at mid-range.
How do I get the Da Hood RPG quickly?
The RPG sits at the top of the weapon price tier, so the fastest way to afford it is to stack cash through successful AR or SMG gunfights before committing to the heavy purchase. Many community-tested routes bank money by running the bank and the school rooftop with an AR, then spend the reserve on an RPG for the next map rotation. If you want a deeper walkthrough of the money loop, the Da Hood how to drop money page covers the carry and trade mechanics that fuel the savings.
Is the Da Hood flamethrower actually useful?
The Da Hood flamethrower is useful in exactly one scenario: a defender hiding behind a soft cover object indoors. The continuous flame stream applies a stacking burn DoT that ticks for several seconds after the initial hit, which lets a single sustained spray kill a player who ducked behind a crate or a thin wall. Outside of that scenario, the flamethrower is easy to dodge, easy to out-range, and a liability in any open-field fight.
Should I pair the Da Hood LMG with a SMG or an AR?
Pair the Da Hood LMG with a SMG when your squad already has a mid-range player, because the SMG covers the close-range gap that the LMG's slow handling leaves open. Pair the LMG with an AR when you are running solo, because the AR's mobility and versatility let you reposition if the LMG's lane gets flanked. Avoid running the LMG with the RPG as your only two weapons, because you will have no answer for a fast rusher who closes inside 20 studs.