
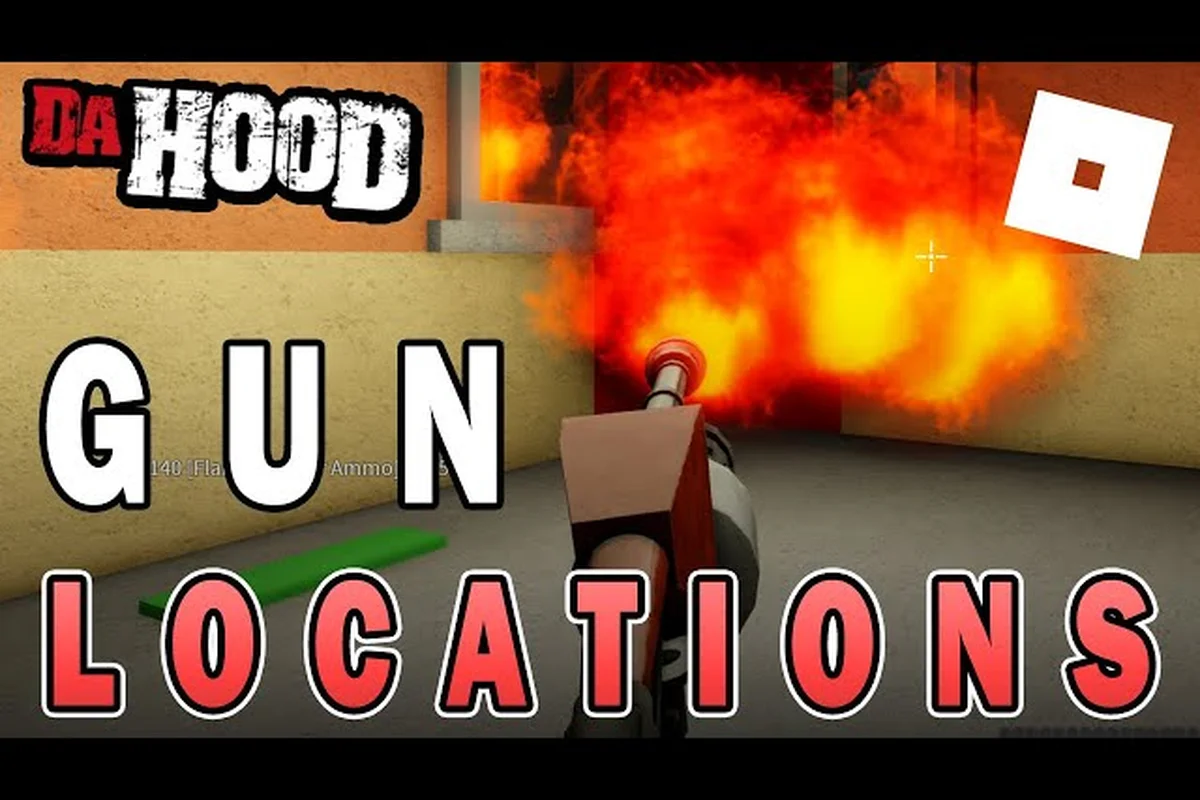
Knowing every Da Hood weapon location on the map gives you a real edge in any gunfight, because cash, ammo, and reload routes decide who walks away alive. This guide maps out the gun stores, ammo crates, reload tactics, and the stats you need so you never get caught empty-handed. Whether you run solo or roll with a crew, the routes below cut the guesswork out of stocking up fast.
Da Hood Gun Store Locations Across the Map
Da Hood weapon locations are split between two main shopping hubs and several street-level pickups, so planning your route by district saves time when you need to gear up between fights. The two core gun stores sit on opposite sides of the map, which means the direction you travel from a fight decides which store is faster to reach. Most players underestimate how much time the wrong store choice costs, especially in a heated bounty chase.
The Main Street Gun Store (Revolvers & Pistols)
The Main Street store is the most visited Da Hood gun store location because it stocks the Double Barrel, Revolver, and the entry-level Pistol at the lowest price tier. It sits on the main avenue near the Bank, which makes it the default stop for fresh players looking for a starter loadout. Prices here run cheaper than the Uphill store, so if you only need a sidearm, the trip downtown is almost always worth it.
Players who just robbed the Bank or an ATM should head straight here because the route is short, the building is well-lit, and most cash registers along the way refill your wallet if the robbery didn't pay off. Community data from experienced players consistently ranks Main Street as the best starter stop for new accounts, because the sidearms available here all have a 0.25-second equip time and 6-round magazines that suit beginner recoil control.
The Uphill Gun Store (Rifles & Heavy Weapons)
The Uphill store covers the second half of Da Hood gun store locations and stocks LMGs, AK-47s, Shotguns, and the high-tier Rifle that most bounty hunters rely on. It sits on the elevated road above the residential blocks, which gives you a natural high-ground advantage on the way out. Prices here run higher, but the weapon stats make it worth grinding the cash before you shop.
The Uphill store is the right call when you already have a sidearm and need a primary that actually wins mid-range duels. According to player reports, the AK-47 is the most-purchased weapon at this location because its 30-round mag and 0.08-second fire rate dominate fights where both players are peeking corners. The route up the hill also passes the Police Station, which is useful if you have a bounty and need to clear it before rearming.
| Store | Best Weapons Sold | Price Tier | Best For |
|---|---|---|---|
| Main Street | Double Barrel, Revolver, Pistol | Low | New players, sidearm restocks |
| Uphill | LMG, AK-47, Shotgun, Rifle | High | Bounty hunters, mid-range loadouts |
How to Get Guns in Da Hood (Step-by-Step)
Learning how to get guns in Da Hood is really about chaining three steps: earn cash, walk to the right store, and equip before the next encounter. The loop sounds simple, but most new players waste minutes running between districts because they skip the cash phase. A clean earn-shop-fight cycle is what separates a casual shooter from a consistent winner.
Step 1: Earn Cash Through Legal or Criminal Routes
Before you can buy anything, you need Cash in your wallet, and the fastest routes depend on your role. Police and civilians earn through the Bank teller job, the Gym workout bonus, and the Cash Register payouts scattered through the commercial district. Criminals earn faster through the Bank heist, ATM robberies, and the Shoe Store pickup, which pays out in a single grab.
The key mistake to avoid is trying to rob a register with no melee weapon, because the animation locks you in place for several seconds and exposes you to a clean shot. Bring a partner if you plan to rob anything bigger than a single register, and rotate which register you hit so the respawn timer doesn't lock you out of a payout.
Step 2: Walk or Drive to the Correct Store
Once you have enough cash, the next step in learning how to get guns in Da Hood is choosing the right store for the weapon you need. If you only have a few hundred dollars, Main Street is the obvious choice because every sidearm there sits in the $250–$700 range. If you have the $3,000+ you need for an AK-47, walk straight to Uphill and skip the cheap stop entirely.
Driving cuts the travel time almost in half compared to running, but it also makes you a louder, more visible target. Community testing suggests the best pattern is to drive one block away from the store, then run the rest of the way on foot so you can slide into the shop without announcing your position to every sniper on the ridge.
Step 3: Equip, Test, and Rotate
After the purchase animation finishes, you spawn the gun in your hand and the old weapon auto-moves to your inventory. This is the moment most new players waste because they stare at the gun instead of moving. The correct move is to drop-test the weapon by firing once at the wall, then immediately rotate toward the exit so you're not standing in the doorway when another player walks in.
Players new to the game should also check out the Da Hood beginner guide for the broader earn-and-equip loop, because the weapon-shopping step is only one piece of the early-game economy.
| Earning Method | Average Payout | Risk Level | Best For |
|---|---|---|---|
| Cash Register | $100–$200 | Low | Civilians, quick cash |
| ATM Robbery | $400–$700 | Medium | Solo criminals |
| Bank Heist | $2,000–$4,000 | High | Crews, bounty hunters |
| Gym Workout | $50 per set | None | Passive cash between fights |
Da Hood Ammo Guide and Restock Routes
A solid Da Hood ammo guide matters more than most players think, because every gun in the game runs out of bullets fast during a sustained fight, and an empty mag in a gunfight is a death sentence. Ammo pickups are scattered across the map as floor spawns, store shelves, and the Ammo Box item you can buy from both gun stores. The trick is learning where the respawn timers are shortest so you can chain pickups between engagements.
Free Ammo Floor Spawns
Floor-spawn ammo is the most reliable free source, and it appears on tables, shelves, and crates throughout the commercial district. The grocery store near Main Street has the densest cluster, with pistol and rifle rounds respawning every 90 seconds according to community observations. The Uphill residential blocks also drop rifle and shotgun shells near the doorways, which makes them a common stop after a firefight on the ridge.
The downside of floor spawns is that they are contested, so running into a popular ammo pile often turns into a third-party encounter. Smart players watch the spawn location for a few seconds before walking in, and they use the wall corners as cover while they grab the box.
Buying Ammo From the Stores
Both gun stores sell the Ammo Box, which restocks every weapon in your inventory with a full magazine of the correct round type. The Main Street store sells the Pistol Ammo Box and Revolver Ammo Box, while the Uphill store stocks the Rifle Ammo Box and Shotgun Ammo Box. Prices vary by caliber, but every Ammo Box costs between $150 and $400, which is why managing cash between ammo and gun purchases is a real skill.
According to community testing, the most cost-efficient pattern is to buy the Ammo Box that matches your primary weapon, not the one that matches your sidearm, because you'll fire more rounds from the primary during any given fight. Pairing this with the Da Hood weapon damage breakdown helps you decide which gun deserves the ammo budget.
Sharing Ammo With Crew Members
If you roll with a crew, the Drop Ammo mechanic lets you transfer loaded magazines to a teammate who is mid-fight. This works by opening your inventory, clicking the ammo icon, and dropping it on the ground. Your crewmate picks it up and the mag auto-loads into their equipped weapon.
This is one of the strongest reasons to run in groups, because a coordinated crew can keep every member loaded through a long bounty war without anyone needing to leave the fight to visit a store. The mechanic only works for direct teammates, so random players in your server cannot pick up your drops unless you explicitly gift the item.
| Ammo Source | Respawn Time | Cost | Best Use |
|---|---|---|---|
| Floor Spawns | ~90 seconds | Free | Passive restocks between fights |
| Ammo Box (Store) | Instant | $150–$400 | Pre-fight preparation |
| Crew Drop | Instant | Free | Sustained bounty wars |
How to Reload in Da Hood Mid-Fight
Understanding how to reload in Da Hood without losing the duel is a core combat skill, because the reload animation leaves you stationary for a full second on most weapons. The default reload key is R, and the animation plays out automatically once you press it. What most players miss is the cancel window: if you fire your last round, you can swap to a sidearm before the empty reload animation starts, which keeps you mobile.
The Reload Cancel Trick
The reload cancel trick is the single most important technique for learning how to reload in Da Hood effectively. The pattern is simple: fire your last round, then press the sidearm switch key (default 1 or scroll down) instead of R. The sidearm pull animation is shorter than the empty reload, and the original weapon keeps the partial magazine you already loaded.
This means if you fired 20 of 30 rounds from your AK, then cancelled the reload with a sidearm swap, you still have 10 rounds in the AK when you swap back. It is a small detail, but in a close-range fight it is the difference between having ammo in the chamber and eating a headshot while stuck in the animation.
When to Reload vs. When to Swap
Reload timing is also a decision problem, not just an animation problem. Reloading after every 5-round burst is safe but wastes ammo, while reloading only on empty is risky because the long animation gets you killed. The meta pattern, according to community testing, is to reload after every second burst, regardless of how many rounds are left, because it keeps your mag above 50 percent without exposing you mid-fight.
The other timing decision is when to fully commit to the reload versus when to back away and reset. If you just won a duel and know a third-party player is rotating in, do not reload in the open — back behind a wall first, then press R. If you are pushing a downed enemy, swap to melee instead of reloading, because the Stomp animation finishes faster than a reload and gives you the bounty bonus.
| Reload Strategy | Best Situation | Risk Level |
|---|---|---|
| Reload Cancel via Sidearm Swap | Mid-fight, 1v1 duels | Low |
| Reload After Every Second Burst | Sustained firefights, crew wars | Medium |
| Reload Behind Cover | Post-duel, third-party rotations | Low |
| Skip Reload, Stomp Instead | Pushing downed enemies | Medium |
Da Hood Weapon Stats and What They Actually Mean
Da Hood weapon stats look simple on the surface but they decide every duel, because damage per second, magazine size, and equip speed combine to shape which gun wins which range. Most new players pick a weapon based on looks or price, which is why they lose fights they should have won. The four stats that matter most are Damage, Fire Rate, Magazine Size, and Equip Speed, and each weapon has a clear trade-off between them.
The Stat Categories That Decide Fights
Damage is the most obvious stat, and it controls how many hits you need to drop a player with full health. The Double Barrel deals the highest damage per shot in the game, but its two-round magazine and slow reload make it a one-shot weapon. The Pistol deals the lowest damage but has the fastest equip speed, which makes it the best panic weapon when your primary runs dry.
Fire Rate is the hidden stat that wins close-range fights. The SMG has the highest fire rate in the game, but its damage per bullet is so low that you need every round to land. The AK-47 balances damage and fire rate, which is why it dominates the mid-range meta. Magazine size controls how long you can stay in a firefight without reloading, and the LMG wins this category with a 100-round belt that lets you suppress entire sightlines.
How Stats Translate to Real Fights
Reading stats on a screen is one thing, but knowing how to apply them is what wins matches. A player with a Revolver and good aim will beat a player with an SMG in a long-range duel, because the Revolver's damage per shot drops the opponent before the SMG can land enough rounds. The reverse is true at close range, where the SMG's fire rate shreds the Revolver's slow follow-up shots.
The table below summarizes the most-used weapons so you can match your loadout to the fights you actually take. If you want a deeper breakdown of which gun wins which scenario, the Da Hood weapon damage guide covers the full tier list.
| Weapon | Damage | Fire Rate | Mag Size | Best Range |
|---|---|---|---|---|
| Double Barrel | Very High | Very Low | 2 | Point-blank |
| Revolver | High | Low | 6 | Mid-range |
| Pistol | Low | Medium | 12 | Panic sidearm |
| AK-47 | High | High | 30 | Mid-range |
| SMG | Low | Very High | 40 | Close-range |
| Shotgun | High | Low | 8 | Close-range |
| LMG | Medium | High | 100 | Suppression |
| Rifle | High | Medium | 20 | Long-range |
Map Rotation and Route Planning for Weapon Runs
Smart players treat weapon runs as a route-planning problem, not a shopping trip, because the path you take between stores decides whether you arrive with cash or with a bullet in your head. The map is split into a low district (Main Street, Bank, commercial blocks) and a high district (Uphill, residential, Police Station), and the route you pick should match the role you are playing.
Low-District Routes
The low district is the safer farming area, because the buildings are close together and the sightlines are short. The optimal weapon run here starts at the Bank, loops through three cash registers for a quick $600, then cuts through the Main Street store for a sidearm. The total time is around 90 seconds, and the entire loop is runnable on foot.
Players should avoid the open avenue near the grocery store during peak hours, because that is where most ambushes happen. The smarter cut is through the back alleys behind the Bank, which is dark, narrow, and rarely watched by snipers on the Uphill ridge.
High-District Routes
The high district is riskier but pays better, because the Uphill store has the high-tier weapons and the residential blocks drop rifle ammo on a fast respawn. The route starts at the Police Station to clear any bounty, climbs to the Uphill store for the primary, then loops back through the residential blocks to pick up spare ammo on the way down.
The key timing rule for the high district is to never stay still for more than a few seconds, because the elevated terrain means you are visible from every direction. A full high-district loop takes about two minutes, and it should be the default run once you have $3,000+ in cash ready to spend on a primary.
If you want a full breakdown of every landmark on the map, the Da Hood map guide covers the bank, police station, gym, and every secret spot in between.
| Route | Starting Point | End Point | Estimated Time | Risk |
|---|---|---|---|---|
| Low Loop | Bank | Main Street Store | 90 seconds | Low |
| High Loop | Police Station | Uphill Store | 2 minutes | Medium |
| Cross-Map Run | Main Street Store | Uphill Store | 75 seconds | High |
Frequently Asked Questions
Where is the best place to buy guns in Da Hood for beginners?
The Main Street gun store is the best beginner stop because it stocks the Pistol, Revolver, and Double Barrel at the lowest prices on the map. Most new players should save up around $500 and grab the Revolver as their first real sidearm. The store sits near the Bank, which makes the earn-and-equip loop short enough to repeat every few minutes.
How do I reload my gun faster in Da Hood?
The fastest reload trick is the reload cancel via sidearm swap. Fire your last round, then press the sidearm switch key (default 1 or scroll down) instead of R. The sidearm pull animation is shorter than the empty reload, which keeps you mobile and preserves the partial magazine on your primary weapon.
Can I share ammo with my crew during a fight?
Yes, you can drop ammo from your inventory by opening the menu and selecting the Drop Ammo icon. Your crewmate picks the box up and the mag auto-loads into their equipped weapon. The mechanic only works for direct teammates in your crew, so random players in the server cannot pick up your drops.
What weapon should I buy first with limited cash?
The Revolver is the strongest first purchase because it deals high damage per shot, has a fast equip time, and costs less than the AK-47 by a wide margin. According to community testing, the Revolver wins more 1v1 duels than any other sidearm at its price point, and it stays useful as a panic weapon even after you unlock a primary.
Where do I find free ammo without buying it?
Free ammo spawns as floor pickups on tables, shelves, and crates throughout the map, with the densest cluster inside the grocery store near Main Street. The residential blocks on Uphill also drop rifle and shotgun shells near the doorways, and both locations respawn every 90 seconds according to community data.