
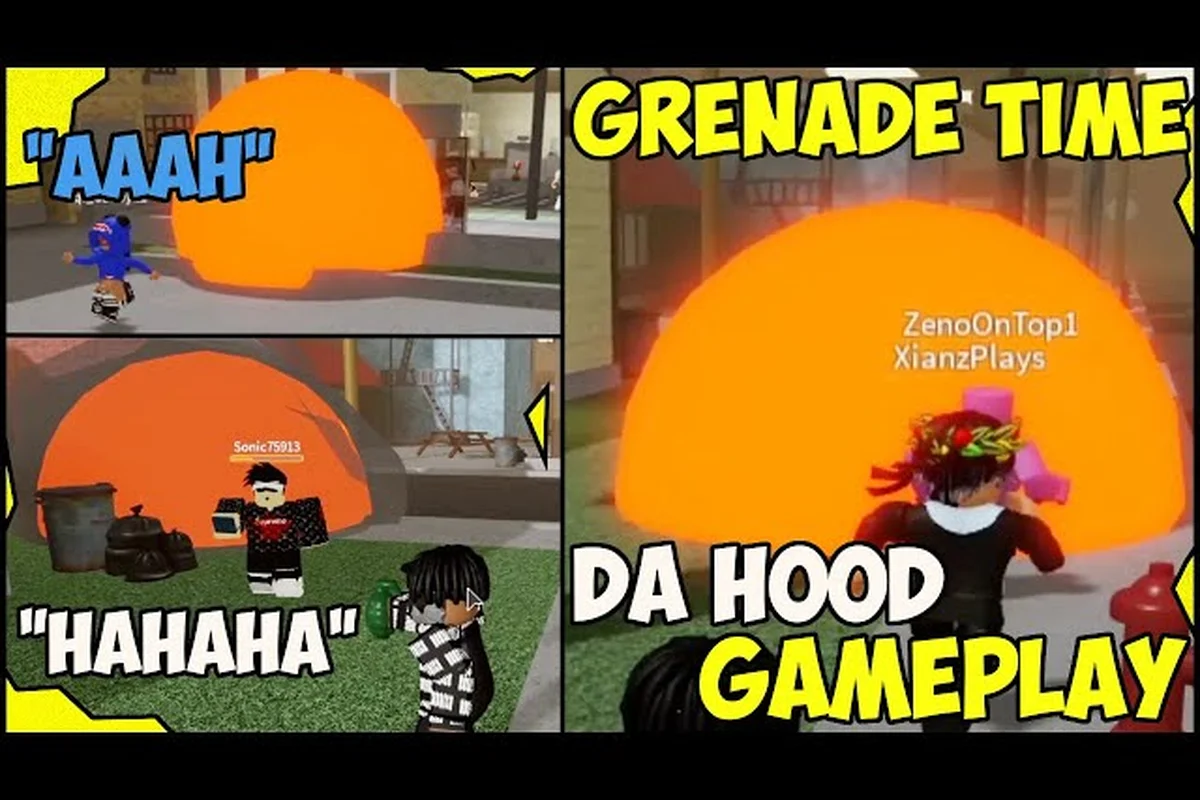
Picking the right throwable or melee in Da Hood can flip a losing gunfight into a clean kill, and the meta shifts every few weeks as community damage testing surfaces new combos. The Da Hood grenade family — flashbang, knife, bat, pitchfork, and sniper — covers almost every close-range and mid-range scenario, but each tool has a specific use window that many players never learn. This guide breaks down damage output, effective range, and the exact situations where each weapon earns its slot, so you stop guessing and start trading efficiently in every server you load into.
The Da Hood Grenade Arsenal: What Each Throwable Actually Does
Grenades in Da Hood are not just one item — the roster includes the standard frag, the flashbang, the bat, the knife, the pitchfork, and the sniper rifle that rounds out the longer-ranged picks. Damage numbers below are drawn from community testing on the public Da Hood game page and from damage charts reported by active players on the Roblox Da Hood community; values may shift after patches, so always re-verify after major updates.
| Weapon | Type | Body Shot Damage | Headshot Damage | Effective Range | Best Use |
|---|---|---|---|---|---|
| Grenade (Frag) | Throwable | 100 (explosion) | 100 (explosion) | 25–30 studs splash radius | Clearing rooms, grouped enemies |
| Flashbang | Throwable | 0 damage | 0 damage | 20–25 studs | Blinding pushes, entry duels |
| Knife | Melee | 35 | 70 | 6 studs | Fast CQC, anti-rush |
| Bat | Melee | 40 | 80 | 7 studs | Higher one-shot potential, slower swing |
| Pitchfork | Melee | 38 | 76 | 7 studs | Stylish finish, range slightly longer than knife |
| Sniper | Hitscan (charge) | 110 body | 220 head | 80–120 studs | Long sightlines, anti-camp |
The Da Hood grenade itself is the only AoE option in the lineup, which makes it the strongest answer to stacked lobbies and three-man pushes. Every other weapon on this list is a single-target tool, so recognizing when to swap from one to the next is the core skill behind the entire arsenal.
Frag Grenade Deep Dive
The frag grenade throws in a slight arc and detonates on a 2.5-second fuse after the first surface contact. Against a single target it deals 100 damage on direct hit — enough to delete a body — but the real value is the splash. A well-timed cook into a doorway or staircase wipes a stacked push, which is why tournament players almost always carry one frag in their secondary slot.
The downside is the fuse and the windup. You have to pull the pin, and the throwing animation locks your movement briefly, so tossing a grenade while a sniper has you in scope usually ends in a free kill. The community-recommended workaround is to cook the grenade behind cover and then peek the throw the moment the crosshair clears — this is faster than a normal toss because the cook advances the fuse.
Flashbang Usage
The Da Hood flashbang is a zero-damage utility that blinds everyone in its radius for roughly 2.5 seconds, including the thrower if they are too close. Because it removes vision, it is the cleanest entry tool in the game. A team can flash over a wall, push the corner, and land two hits before the blinded target can react. The radius is large enough to cover a typical alley, so a single flash often swings a 1v1 into a 1v0.
Timing is everything. Throwing a flashbang from too far away gives the enemy time to turn away, and the blind effect drops off at the edge of the radius. Practice the "peek-and-flash" pattern: strafe out of cover for half a second, throw, then immediately close distance while the target is still white-screened.
Close-Range Melee Picks: Knife, Bat, and Pitchfork Compared
The melee trio in Da Hood looks interchangeable on paper, but each weapon swings at a different speed and lands a different damage bracket. Choosing the wrong one in a tight 1v1 often costs the fight before it starts, which is why the Da Hood beginner guide recommends unlocking all three before pushing ranked lobbies.
| Melee | Swing Speed | One-Shot Headshot (Full HP) | Two-Shot Time to Kill | Notes |
|---|---|---|---|---|
| Knife | Fastest | No (70 head) | ~0.7s | Best for double-tap into a finish |
| Bat | Slowest | No (80 head) | ~0.8s | Slightly higher one-shot potential with buffs |
| Pitchfork | Medium | No (76 head) | ~0.75s | Slightly longer reach than knife |
None of the three melees one-shot a full-health opponent on headshot alone — every melee in Da Hood requires a follow-up swing, a gun, or a thrown weapon. The bat deals the highest per-swing damage, so it pairs well with a finishing pistol shot. The knife, with its faster swing animation, fits players who rely on double-tapping into a third attack.
Knife: Speed Pick
The Da Hood knife is the fastest-swinging melee, and that speed is its entire identity. In a close-range scramble where both players panic-swing, the knife user lands the first hit and the second hit faster, which is usually the difference between winning and losing a duel. It also has the cleanest animation for chain-combo finishers, and the visual swing arc is small enough to land around a wall peek.
The trade-off is reach. A knife user has to be inside the opponent's space to land damage, which puts them in the danger zone of every shotgun and SMG. Pair the knife with a flashbang entry to solve this — flash, then rush with the knife while the target is blinded.
Bat: Damage Pick
The bat swings slower, but it deals 40 body and 80 head — the highest flat damage in the melee lineup. A bat headshot into a pistol body shot is the most common two-tick finisher in the meta right now, and many high-level players carry a bat specifically for that combo. The bat also reads more clearly in kill feeds, so a bat user often gets a psychological edge in chaotic 1v1s.
The slower swing animation means a bat user loses neutral against a knife user in a pure melee mirror. Counter it by baiting the first swing, sidestepping, then landing a guaranteed second swing into a gun.
Pitchfork: Reach Pick
The pitchfork sits in the middle: medium swing speed, 38 body, 76 head, and slightly longer reach than the knife. It is the best melee for "poke and reset" play, where the user jabs from just outside the opponent's optimal range, then disengages. The pitchfork also keeps the longest visible hitbox, which makes it a forgiving choice for new players still learning melee spacing.
The Da Hood Sniper: Long-Range Closer
The sniper rifle is not a melee or a throwable, but it rounds out the grenade-and-melee roster because it solves the problem that all five other weapons cannot: long sightlines. On Da Hood's outdoor maps — the parking garage rooftop, the construction site, and the strip behind the basketball court — a sniper can lock down angles that a knife or bat user can never contest.
| Stat | Value |
|---|---|
| Body Damage | 110 |
| Headshot Damage | 220 |
| Scope-in Time | ~0.9s |
| Effective Range | 80–120 studs |
| Ammo per Magazine | 5 |
| Reload Time | ~3.2s |
A headshot is an instant kill, and a body shot leaves the target one-shot for any follow-up. The sniper is hitscan after the scope charge completes, so leading is not required, but the 0.9-second scope-in animation is a hard counter to fast rushes — anyone who closes the distance before the scope finishes wins the duel.
The community-tested best use is "anchor and rotate": a sniper holds a long sightline, picks off one enemy per magazine, then repositions before the enemy team closes the gap. Pairing the sniper with a Da Hood grenade lets the user throw a flashbang into a rush, then scope in on the disoriented push.
Loadout Strategy: When to Carry What
The wrong loadout in Da Hood is the difference between a 1.5 K/D and a 0.6 K/D, because each weapon answers a different map pressure. New players often run "everything" and end up with empty ammo on every gun; veterans run a tight three-slot loadout and switch on the fly.
| Scenario | Primary | Secondary | Throwable | Why |
|---|---|---|---|---|
| Open Map (rooftop, parking lot) | Sniper | SMG | Flashbang | Hold sightline, fall back to SMG on close |
| Tight Indoor (alley, gym) | Shotgun | Knife | Frag Grenade | Burst at corners, knife for cleanup, frag for stacks |
| Mixed Map (downtown) | AR | Bat | Flashbang | AR covers mid, bat for trades, flash for entries |
| Anti-Rush (chokepoint defense) | Shotgun | Bat | Flashbang | Stops 3-man pushes, bat for finishers |
| Sniper Duel Map (long sightlines) | Sniper | Revolver | Flashbang | Counter-snipe with revolver hipfire, flash for push |
Reading the lobby is half the battle. If three enemies are rushing the same corner, the answer is almost always a frag grenade or a flashbang — never a melee, because the splash and blind effects punish grouped players harder than any single-target weapon. If a sniper is locking your team's outdoor push, the answer is a flashbang entry plus an SMG rotation, not a second sniper duel.
Throw Timing and Movement Tips
Every throwable in Da Hood shares one rule: the windup animation locks your movement. Walking while pulling a pin slows you to a crawl, and jumping cancels the throw entirely. The community-recommended pattern is to stop, stand still, throw, then immediately sprint. Trying to throw on the run either drops the throw short or eats the pin animation with no release.
For the Da Hood grenade, the cook technique — pulling the pin, then waiting roughly one second before throwing — makes the grenade detonate faster after it lands. This is essential when the target is in a small room, because a normal-throw fuse gives them time to leave the splash radius.
Switching Between Gun and Melee
The fastest kill combos in Da Hood mix one gun shot with one melee swing. The "gun-tap into bat" is the most consistent: land a body shot with any gun, then immediately equip the bat and swing for the kill. The switch takes about 0.3 seconds, and the bat's high damage covers the residual HP. Knife users run "double-tap into gun" because the knife's fast swings cover the chip damage window.
Practicing the switch in a private server is the fastest way to internalize the timing. Set up an AFK target, land a body shot, then quick-swap to melee — the muscle memory carries into live lobbies within an hour of practice.
Common Mistakes to Avoid with Grenades and Melees
Most new players treat the Da Hood grenade like a panic button and throw it the moment they are in trouble. That usually wastes the grenade on a single enemy and leaves the rest of the push untouched. The grenade's value is the splash, not the direct hit, so save it for stacked enemies.
Another common error is over-swinging the melee. A bat user who swings twice in a row without landing either hit is now on a 1.5-second recovery animation, during which any gun deletes them. The discipline is: swing once, then either commit to a second swing only if the first connected, or break away and reset.
For the flashbang, the biggest mistake is throwing it too far ahead. A flashbang that detonates 30 studs in front of you does not blind the enemy you are about to duel — it blinds empty space. The flash should land at the enemy's feet or just over their cover, not at the end of an alley.
Finally, sniper users often scope in too early. The 0.9-second scope animation gives away your position, and an alert enemy will pre-aim your scope line. The community-tested discipline is: position first, scope only when you have a confirmed target, and un-scope the moment the angle is empty.
Frequently Asked Questions
What is the best Da Hood grenade for clearing rooms?
The standard frag grenade is the strongest room-clear tool because it deals 100 damage in a 25–30 stud splash radius. Cook it behind cover for roughly one second, then peek and throw into the doorway — the shorter fuse catches stacked enemies before they can scatter.
Is the Da Hood flashbang worth using over a second grenade?
Yes, in most lobbies. The flashbang blinds for about 2.5 seconds without dealing damage, which makes it the cleanest entry tool in the game. Pair it with a shotgun or knife push and you usually win the duel before the enemy can react.
Which melee deals the most damage, the bat, knife, or pitchfork?
The bat deals the highest per-swing damage at 40 body and 80 head. The knife swings faster, and the pitchfork has slightly longer reach, but the bat is the strongest pure-damage pick for a two-tick finisher with a pistol body shot.
Can the Da Hood sniper one-shot a full-health player?
Yes, but only on a headshot. A body shot deals 110 damage and leaves the target at roughly 10 HP, while a headshot deals 220 damage for an instant kill. The sniper is hitscan after scope-in, so leading is not required at any range.
Should I bring a grenade into every round?
Not every round — the grenade is the strongest answer to grouped enemies, but it is wasted on a lone sniper at 100 studs. Carry a flashbang on tight maps for the entry blind, a frag on chokepoints for the splash, and skip the throwable on long-sightline maps where a sniper or AR rotation is the better call. For a fuller breakdown of how the rest of the weapon roster fits around these picks, the Da Hood starting out guide covers loadout basics in more detail.