
Items
Learn about all items in Da Hood.
Introduction
Da Hood items decide fights more often than aim does. Food restores health and reshapes your muscle stat, armour absorbs the first burst of damage, masks hide your identity from the players hunting you, and utility tools like the lockpick, spray can and boombox unlock entire playstyles that a pure shooter build cannot touch. The inventory system itself is part of the puzzle: item slots are limited, dropped items land in the world where anyone can take them, and crates feed a skin economy that runs alongside the cash one. This section explains what each item family actually does, where to buy or loot it, and how to build a loadout that covers healing, protection and utility without wasting slots on things you will never use.
Item Families and Their Jobs
| Family | What It Does | Where To Get It |
|---|---|---|
| Food & Healing | Restores health, shifts muscle | Food shops, Taco Shop |
| Armour | Absorbs incoming damage | Items shop, loot drops |
| Masks | Hides identity, delays identification | Clothing store, crates |
| Utility Tools | Lockpick, spray can, boombox, wallet | Crates, loot zones |
Item Classes
Food & Healing
The item that wins long fights
Armour Tiers
High, medium and low protection
Masks
Identity cover for bountied players
Utility Tools
Lockpick, boombox, spray can, wallet
Core Mechanics
The Da Hood inventory is a limited slot system, and every item you carry is an item you can lose. Healing and armour are consumed on use, so a long session drains a stack faster than most players expect, while tools and cosmetics persist until you die or drop them. Dropping is deliberate: pressing the drop input places the item in the world rather than deleting it, which is how trading works and also how a careless player feeds a nearby enemy. Crates sit alongside the shop economy as the main source of skins and utility tools, and their drop tables are tiered, so a cheap key can never roll the rarest cosmetic. Item value in the community is set by rarity and trade demand rather than by any in-game stat, which is why a cosmetic with no combat effect can be worth more than a full armour set.
Advantages
Items are the most controllable part of Da Hood. You cannot choose which players you meet, but you can choose to walk into a fight with full health, working armour and a healing stack, and that preparation decides a large share of engagements before the first punch lands. Utility tools also open playstyles that are closed to combat-only builds: a lockpick specialist earns from containers other players cannot open, and a mask lets a bountied player keep operating instead of being hunted off the server. The crate economy adds a second income stream that does not require winning fights at all, and because skins are tradeable, a lucky pull can be converted into cash, armour or weapons without ever entering a gunfight.
Challenges
Slots are finite, so every loadout is a trade-off. Carrying three food stacks means leaving behind a tool, and carrying tools means entering fights with less healing than the player shooting at you. Items are also lost on death, which turns a bad decision into a compounding loss: die twice with a full kit and you have funded two enemies and rebuilt nothing. The crate economy is deliberately opaque, with drop rates that are not published, so chasing a specific cosmetic can consume far more keys than its trade value justifies. Finally, some tools are situational to the point of being dead weight in the wrong lobby, and a player who buys them without checking the drop table ends up carrying items that never trigger.
Frequently Asked Questions
What is the best food item in Da Hood?+
How does the Da Hood armour system work?+
How do I trade or drop items safely?+
Quick Tips
Buy healing before you buy damage. A player with a full food stack and mid-tier armour beats a player with a better gun and no healing far more often than the stat sheets suggest, because Da Hood fights are long enough for sustain to matter. Set a rule for yourself: never start a session without at least two full healing stacks and a spare armour piece, and treat the cost as rent rather than as an expense.
Check the crate drop table before you spend keys. Crates are tiered, so a cheap key physically cannot roll the rarest cosmetics no matter how many you open. Reading the table first tells you which tier actually contains the item you want, which saves keys and prevents the classic trap of grinding low-tier crates for a drop that only exists two tiers above them.
Wear a mask the moment your bounty climbs. Identification is what turns a bounty into a death sentence, because players who know who you are can track you across sessions and call you out in chat. A mask costs almost nothing and turns every hunt into a guessing game, buying exactly the seconds you need to reach a safe zone or a sewer entrance and break the chase.
Keep utility tools on a separate session from combat. A lockpick or boombox run is a different activity from a PvP session, and carrying tools into a gunfight just means losing them when you die. Decide what the session is for before you leave spawn: if you are running containers, travel light and avoid contact; if you are fighting, leave the tools in storage and carry healing instead.
Featured
Da Hood Chicken: Food, Protein & Armor Effects
See why Da Hood chicken is a top food pick — compare it to tacos, weights, protein gains, and how it stacks with armor and mask setups.
Da Hood Cash Drop: Items Shop, Healing & Best Food Buys
Stack Da Hood cash drop rewards by knowing the items shop inside out — where to buy food, armor, healing gear, and best food to stay alive.
Da Hood Inventory Guide: Drop, Trade & Event Items
Sort your Da Hood inventory guide the smart way — learn how to drop items, value exclusives, and stack Halloween and Christmas event drops.
All Articles
Da Hood Items Guide: Food, Armor, Masks & Lockpicks
Master the Da Hood items guide with every food, armor tier, mask, and lockpick explained — learn what to equip and how each tool changes combat.
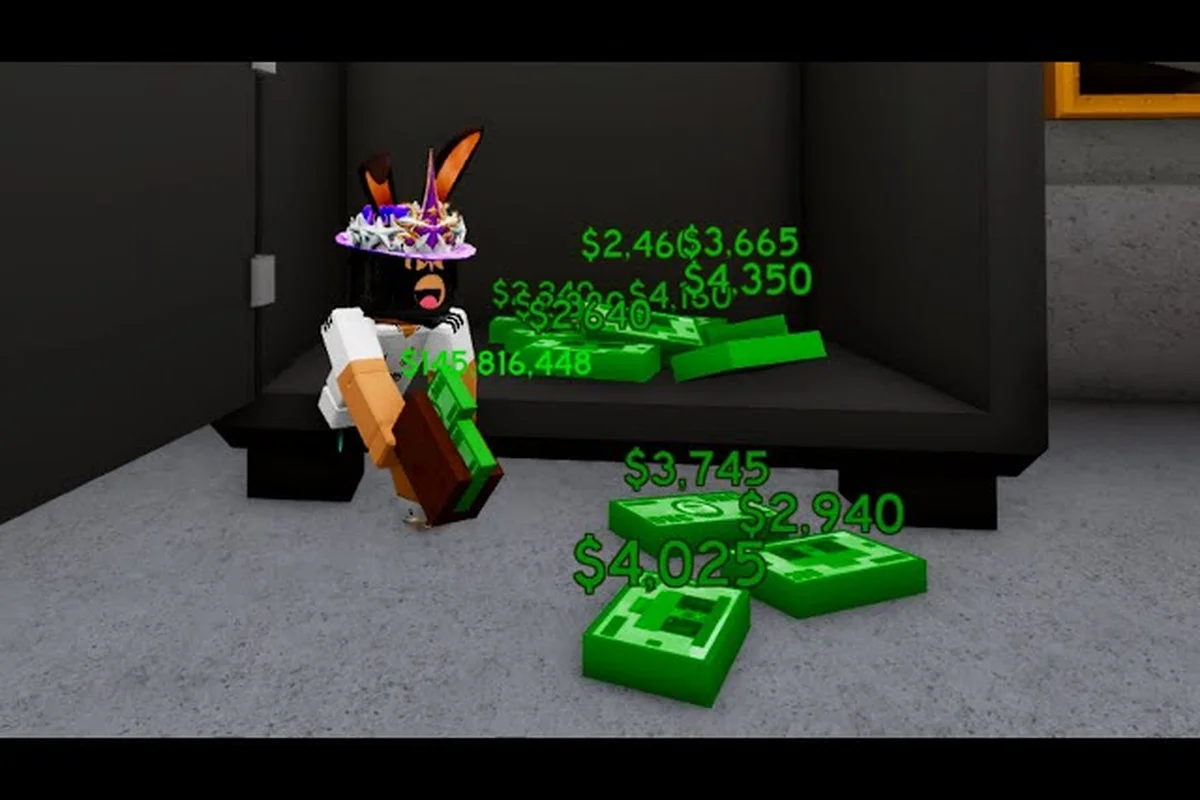
Da Hood Lockpick: Handcuffs, Boombox & Wallet Tools
Crack open Da Hood lockpick routes and every tool that pairs with it — handcuffs, boombox, wallet, and crates you can break into for big payouts.
Da Hood How to Open Crates: Skin Crates, Items & Tier List
Learn how to open crates Da Hood players chase for rare skins, see the items tier list, and uncover the secrets behind every cosmetic and utility drop.