
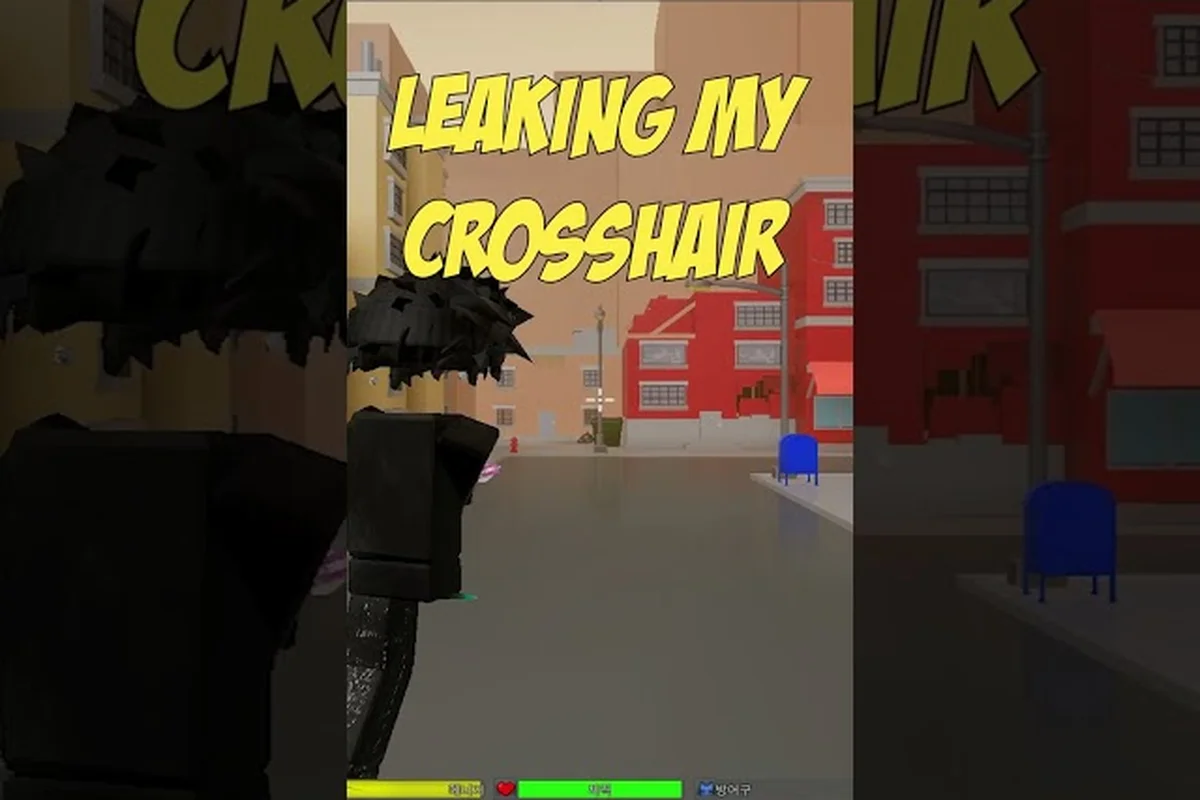
A clean crosshair and a tight HUD setup are the difference between landing a counter and whiffing a swing in Da Hood. The best crosshair IDs in Da Hood come from the community catalog system, and pairing them with tuned chat, camera, and keybind settings makes your whole setup feel responsive.
Roblox catalog items carry a numeric asset ID, and the in-game crosshair menu reads that ID directly from the asset link. When you paste a working ID into the Crosshairs menu, the reticle swaps on the spot with no restart. That catalog hook is also why the same approach lets players preview custom reticles, animated crosshairs, and minimal dot designs without leaving the lobby.
Da Hood Crosshair ID Basics and How Catalog Codes Work
Every crosshair you see other players wearing is a Roblox catalog asset. The asset page URL ends in a long number, and that number is the crosshair ID your settings menu will accept. When you copy the digits, drop the rbxassetid:// prefix if the share message includes it, and paste the raw number into the Crosshairs field under the game's UI settings, the new reticle appears in under a second.
Because the system reads from the public catalog, any new crosshair can be browsed and shared the same day it goes live. That is why the list of popular IDs shifts every few weeks, with older animated designs cycling out as cleaner minimalist reticles gain traction in competitive lobbies.
Where to Find Working Da Hood Crosshair IDs
The fastest way to find fresh crosshair IDs is the community spreadsheets and curated TikTok or YouTube shorts that compile "clean crosshair" lists. Each entry usually links to a catalog item so you can preview the reticle before pasting it. Reddit threads tagged with the game's name and the word "crosshair" also surface tested IDs, especially after a major UI update that resets everyone's saved look.
When testing a new ID, queue a private server first and walk into a free-for-all area. If the reticle renders correctly, looks centered, and does not clip through your weapon, save the settings immediately. IDs that look fine in the menu can occasionally show up blank or stretched on lower-end hardware, so a quick live check saves you from queuing a real match with a missing dot.
| ID Category | Visual Style | Visibility Tier | Best For |
|---|---|---|---|
| Static Dot | Small centered point | High | Long-range tracking |
| Static Cross | Classic plus shape | Medium | Mid-range fights |
| Animated Ring | Pulsing circle | Low | Style-focused players |
| Minimal T-Style | Three-line shape | High | FPS-trained players |
| Color-Shift | Hue cycling reticle | Medium | Streamers and content |
The five styles above cover almost every crosshair ID circulating in the community right now. Static dot IDs are the most copied category because they keep your view unobstructed, and the minimal T-shape is popular with players who come from tactical shooters and want a familiar sight picture.
Da Hood Camera Settings for Cleaner Aim Tracking
Camera settings sit one tab over from the crosshair menu, and they decide how your screen follows the character during combat. A higher camera sensitivity lets you whip your view toward a flanking opponent, while a lower sensitivity smooths out tracking on a strafing target. Most competitive players land somewhere in the middle and use the in-game slider to fine-tune by 5 to 10 point increments rather than jumping 30 points at a time.
The Field of View slider matters more than most players realize. A wider FOV pulls the camera back, which makes distant targets feel smaller but reveals more of your surroundings. A narrower FOV zooms in slightly and makes tracking feel more precise at the cost of peripheral awareness. The sweet spot for most lobbies is around the default range, with FOV adjustments limited to ±10 from the stock value.
| Camera Setting | Lower Value Effect | Higher Value Effect | Recommended Range |
|---|---|---|---|
| Sensitivity X | Smoother horizontal tracking | Sharper flick speed | 45–65 |
| Sensitivity Y | More stable vertical aim | Faster crosshair lift | 50–70 |
| Field of View | Tighter aim, less awareness | Wider view, smaller targets | 70–85 |
| Camera Offset | Centered reticle | Side-screen reticle | Centered |
For melee fights, where the engagement distance is short and the target changes direction every half-second, the higher end of the sensitivity range tends to work better. The melee fights and dodging guide goes deeper into how these sliders translate into actual parry timing windows.
Da Hood Chat Settings, UI Settings, and Shaders
Chat and UI settings tend to be the most underrated section of the menu. Hiding non-essential HUD elements clears up screen real estate, and a cleaner view means your reticle never gets covered by a notification bubble during a firefight. The chat settings tab controls the in-match message box, kill feed style, and whether global or team chat is visible at all by default.
Shaders are the visual filter overlay applied to the game world. They do not change your crosshair, but they do affect how clearly you can read distant players against the background. A heavy contrast shader makes silhouettes pop on bright maps, while a flatter shader keeps color tones even on darker urban maps. Players who swap between a "warm" and "cool" shader depending on the server they queue into tend to track targets more consistently.
Fine-Tuning the Da Hood UI Settings Panel
The UI settings tab controls the in-match HUD density, including the kill feed size, player name tags, and the small icons that appear above teammates. Turning most of these off keeps the center of your screen clear, which is where your reticle lives during a fight. Keep only the health bar and ammo counter visible if you want quick information without clutter.
A smaller kill feed also stops the right edge of the screen from flashing every time someone on the server lands a hit. That flashing pulls your eye away from the reticle, and even a few hundred milliseconds of distraction matters when you are trying to land a parry on a rushing opponent. The result is a setup that looks sparser but feels more focused once you actually play a few rounds with it enabled.
| UI Element | Keep Visible | Hide for Clean View | Impact on Aim |
|---|---|---|---|
| Health bar | Yes | No | High — survival info |
| Ammo counter | Yes | No | High — reload timing |
| Kill feed | Optional | Yes | Medium — distraction source |
| Player name tags | No | Yes | Low — clutter removal |
| Match timer | Optional | Yes | Low — peripheral info |
Da Hood Keybinds and Settings Map for Faster Reactions
Keybinds decide how quickly you can act under pressure, and the default layout is rarely optimal. Most competitive players remap their primary fire, melee, and block inputs to positions that match a modern FPS keybind layout, with the index finger covering movement, the middle finger on fire, and the ring finger on block. That setup lets you chain parry, block, and swing without lifting your fingers off the home row.
Mouse buttons on the side of your mouse are useful for utility actions like reload, taunt, and weapon swap. Binding those to thumb buttons frees up the keyboard for combat inputs, and the best settings roundup covers a more exhaustive keybind layout if you want a tested starting point.
| Input | Default Key | Competitive Remap | Reason |
|---|---|---|---|
| Fire | Left mouse | Left mouse (kept) | Hardwired to mouse |
| Melee | F | Mouse 4 or E | Index finger priority |
| Block | R | Mouse 5 or Q | Thumb-accessible |
| Reload | R | R (kept) | No conflict after remap |
| Weapon swap | X | T or Mouse 4 | Faster cycle |
| Taunt | B | Y or Z | Off the combat row |
Pairing the right keybind layout with a tuned crosshair and camera setting creates a feedback loop. Your hand learns the muscle memory, your eyes see a clean reticle, and the camera responds to a sensitivity that matches the way you actually move the mouse. Any one of these three pieces being out of tune will make the other two feel worse, which is why players who copy a pro's exact crosshair ID without also adjusting sensitivity often end up reverting within a day.
If you want a baseline to copy before tweaking, the sensitivity and DPI overview gives a starting DPI range and sensitivity multiplier that works with most mousepads. The article is geared toward players who come from PC shooters, so the values tend to feel snappier than the default Roblox mouse curve.
Common Mistakes When Applying New Da Hood Crosshair IDs
The most common mistake is pasting a non-numeric string or an ID that has been removed from the catalog. The menu will accept the input and simply show a blank reticle, which makes you think the game is broken when in fact the asset has been moderated or renamed. Always double-check the ID against the source post before committing it to your main profile.
The second mistake is using an animated crosshair with a transparency layer that fades the dot in and out. During a fast fight, the moments when the dot is fully transparent cost you a tracking frame, and that frame is often the difference between landing and missing a parry. Static reticles never have that problem, which is why competitive players usually settle on a static dot or static cross within a few weeks of experimentation.
| Mistake | Symptom | Quick Fix |
|---|---|---|
| Stale ID | Blank reticle | Verify link still loads |
| Animated reticle | Tracking drops during fade | Switch to static style |
| Color blends with map | Hard to see in snow or sand | Use contrasting color |
| Center offset | Aim feels slightly off | Reset FOV to default |
| Wrong catalog item | Image shows but no crosshair | Re-copy the asset link |
Frequently Asked Questions
Where do I paste a Da Hood crosshair ID once I find one?
Open the in-game settings, go to the crosshair section, and paste the numeric ID into the text field labeled for the catalog asset. The reticle swaps immediately and stays active across matches until you change it again or reset the menu.
Do crosshair IDs from older catalog posts still work in 2026?
Most older IDs still work, but some animated designs from 2024 and earlier have been removed from the catalog. When an ID fails, the safest replacement is any static dot or static cross from a recently updated community list, since those are the most consistently re-uploaded styles.
How do Da Hood shaders interact with crosshair visibility?
Shaders tint the world, so a high-contrast reticle may pop too hard against a flat-shaded map, while a low-contrast reticle can vanish on a high-saturation map. The fix is to pick a reticle color that sits opposite the shader's dominant tone, which is easier to test in a private server than in a live ranked queue.
What is the cleanest Da Hood camera setting for controller players?
Controller users tend to run sensitivity around 60 for both axes, with a slightly lower Y value to keep vertical tracking from overshooting. A center-offset camera and the default FOV give the reticle a stable home position, which matters more than raw sensitivity for the slow tracking arcs you get on a thumbstick.
Can I share my keybind setup with a friend in-game?
There is no built-in keybind export, so the cleanest method is to screenshot your bindings menu and share the image. For a written share, list each action with its key in a chat message so your friend can apply the same layout in their own menu.