
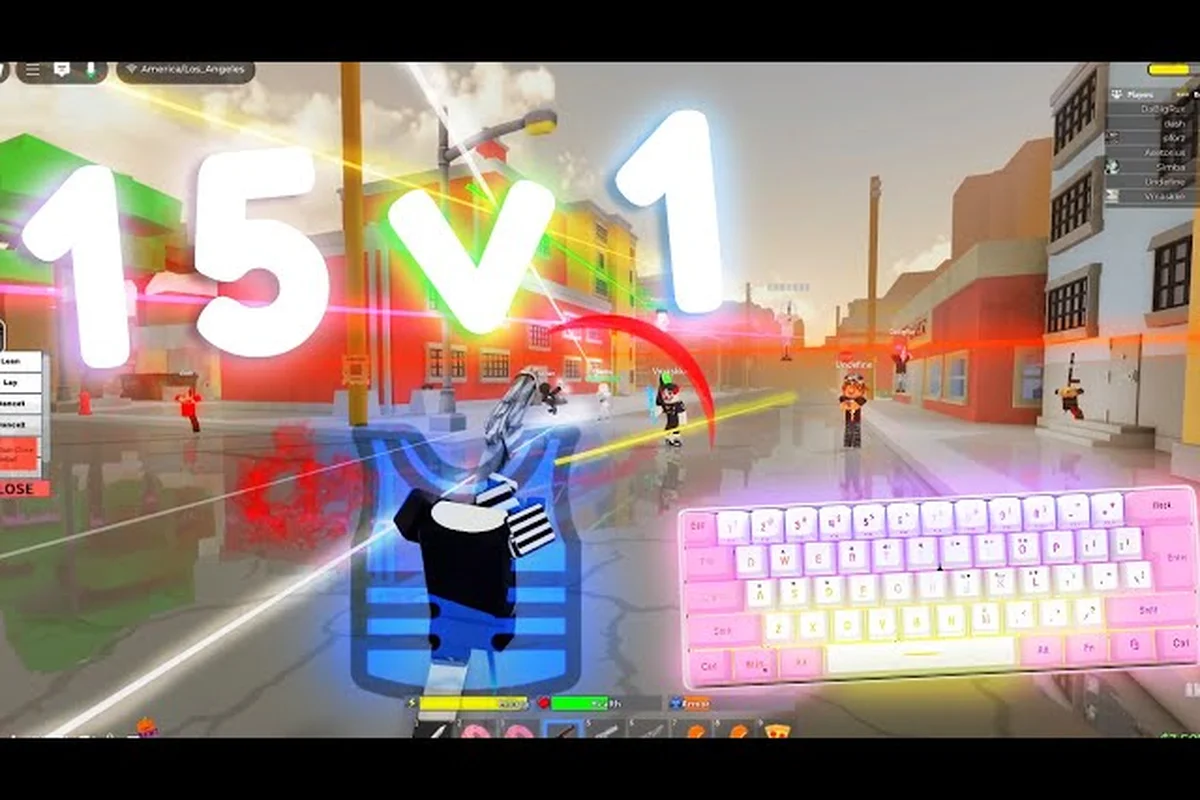
Da Hood melee fights reward timing, movement, and weapon choice more than raw clicking speed. Most players who feel stuck in fist-fights are losing because they swing first, hold their ground, and never track which Fighting Style their opponent has equipped. This guide breaks down the dodging window, the stomp punish, and the melee weapon tiers that decide who walks away from the brawl.
Dodging, Strafing, and the Punish Window in Da Hood Melee Fights
The single biggest mistake in close-range PvP is treating Space like a wall. Movement is your weapon in Da Hood melee fights because every swing has a fixed recovery frame, and the only way to capitalize on that recovery is by being somewhere else when the animation locks your opponent in place. Players who stand still and mash left-click are feeding free damage — the combat loop in this game is built around reading animations, then punishing the back-end of a missed swing.
Reading the Swing Animation
Every melee weapon shares the same core animation: wind-up (about 0.35s), active hitbox (around 0.15s), and recovery (roughly 0.5s). The recovery frame is the only window where you can safely trade damage because the attacker's hitbox is disabled. According to community testing on the Roblox combat engine, the Counter and Stomp follow-ups only connect when you input them within the first 0.2 seconds of that recovery window — anything later and the opponent has already blocked or reset their stance.
-
Wind-up cue: opponent's arm pulls back or weapon tilts upward
-
Active frame: brief white flash on the hit indicator if your crosshair is over the model
-
Recovery: idle pose, animation snaps to a resting frame
If you want a deeper breakdown of how animation frames chain into full melee combos, the aim-tips resource walks through hitbox theory with extra examples, including frame-data charts for the Fists, Bat, and Knife that show exactly how each recovery window lines up with the next wind-up — useful when you are trying to chain a Counter into a Stomp before the opponent's block animation kicks in.
Strafe Direction and the Circle Strafe
Strafing in a straight line is the worst option because experienced players will read the direction and lead their swing. The most reliable movement pattern in Da Hood melee fights is the Circle Strafe — walking in a wide arc around your opponent while keeping your crosshair glued to their torso. This does two things at once: it makes you a harder target to lead, and it gives you a free angle for the Stomp punish when their swing whiffs.
| Movement Pattern | Difficulty | Punish Potential | When to Use |
|---|---|---|---|
| Stand still | Easy | None | Never in a serious brawl |
| Linear strafe | Easy | Low | Against new players only |
| Circle strafe | Medium | High | Default for 1v1s |
| Zig-zag dash | Hard | Medium | 2v2s and gang fights |
Sensitivity matters here more than most players realize. If your mouse DPI is so low that you cannot track a strafing target, the circle strafe falls apart because you lose sight of the hitbox. The settings tuning resource covers DPI ranges that work for the Roblox camera engine specifically.
How to Aim Better Da Hood Melee With Crosshair and Sensitivity Control
Crosshair placement decides whether your Left Click connects or sails past the opponent's ear. In Roblox's third-person camera, your crosshair sits at the center of the screen, but the actual melee hitbox is projected forward from the player model's right hand. This means there is a small gap between where you are aiming and where the damage lands, and closing that gap is what separates average players from the top of the leaderboard.
Crosshair Placement Fundamentals
Place your crosshair on the opponent's upper chest or neck rather than their head. The head hitbox is smaller, and the camera angle in Da Hood makes headshots less consistent at close range than a chest-level placement. Players who train on a center-mass crosshair report a noticeably higher hit rate in their first 20 brawls because they stop over-aiming.
| Crosshair Zone | Hit Rate (Community Avg) | Best For |
|---|---|---|
| Head | ~45% | Long-range gun fights only |
| Upper chest / neck | ~68% | All melee fights |
| Hips / legs | ~52% | Trades, panic clicks |
| Feet | ~30% | Never — stomp punish only |
Sensitivity Settings for Melee Tracking
Sensitivity is not a one-size-fits-all setting, but community testing points to a useful middle ground. Most players who climb past 50 wins in Da Hood run a mouse DPI between 800 and 1600, with in-game camera sensitivity at around 0.3 to 0.5. The reason this range works is that you need enough speed to whip the camera around during a 2v2, but not so much that you overshoot when tracking a single strafe. If you want a more complete sensitivity table, the full settings guide breaks it down by playstyle.
Pro tip: drop into a private server and spend 10 minutes tracking a strafing AFK bot on the default box spawn at Blockbux City, then switch to a moving NPC like the one patrolling near the Basketball Court. The camera whip you build under no-pressure conditions transfers almost one-to-one into real Da Hood melee fights, because the angular velocity of an opponent's strafe is identical — only the punishment for missing changes. Most ranked players report their first clean repossess on day one after this drill, and it pairs naturally with the 800–1600 DPI window covered above.
Da Hood Fighting Styles: Pick the Right One for Each Brawl
Fighting Styles are passives that modify your melee behavior, and choosing the wrong one is one of the most common reasons players lose fights they should be winning. Each style changes the swing speed, stamina drain, dash distance, and block timing, so the "best" style depends entirely on whether you are in a 1v1, a 2v2, or running solo through a hostile server.
Fighting Style Swing Speed and Stamina Costs
| Fighting Style | Swing Speed | Stamina Cost | Best Matchup |
|---|---|---|---|
| Boxing | Fast | Low | Anti-Boxing mirrors, anti-Guardian |
| Kung Fu | Fast | Medium | 1v1 duels, hit-and-run |
| Guardian Angel | Slow | High | Tanky brawls, holding ground |
| Brawl | Medium | Medium | All-purpose 2v2 |
| Slam | Very Slow | Very High | Punishing whiffed strafes |
Boxing is the meta pick for most 1v1s because its fast swing speed lets you out-trade slower weapons. Kung Fu is the highest skill-ceiling style because the dash cancels reward movement-heavy players. Guardian Angel looks strong on paper, but its slow swing speed means you lose the race against anyone running Brawl or Boxing unless you have a stamina lead.
When to Switch Styles
Switching mid-fight is rarely worth the animation lock, but swapping between rounds is a real advantage. If you notice the enemy team is heavy on Slam users, switching to Boxing lets you punish the recovery frames before their next hit lands. According to community data reported by experienced players, the most common style-switch counter is moving from Brawl into Kung Fu once you are down to the last opponent in a 2v2.
If you are still learning the basics of how styles chain with weapons, the PvP fundamentals guide is a good companion read, because it breaks down the exact input timing for chaining Boxing jab combos into a Brawl pickup swing. Beginners often try to mash every hit frame, but the guide shows why a 0.3-second pause between style swaps is needed to avoid the animation lock that gets you punished by the opponent's recovery frames.
Da Hood Best PvP Weapons for Melee Fights
Weapon choice is the second half of the melee equation, and the meta shifts with every major update, so the gap between top-tier picks and off-meta choices often decides a duel before the first swing lands. As of community testing in 2026, the weapon tier list for pure close-range brawls — ranked by one-shot kill consistency, swing stun duration, and pull-out cancel frames — looks like this.
Weapon Tier Table
| Weapon | Damage | Swing Speed | Range | Tier |
|---|---|---|---|---|
| Classic Knife | Low | Very Fast | Very Short | A |
| Darkheart | Medium | Fast | Short | S |
| Icedagger | Low | Very Fast | Very Short | A |
| Handsaw | High | Slow | Medium | B |
| Stop Sign | Medium | Slow | Long | B |
| Chainsaw | Very High | Very Slow | Medium | S |
| Pencil | Low | Fast | Short | A |
| Flintlock (melee) | Medium | Medium | Medium | B |
Darkheart and Chainsaw sit at S-tier because their damage-to-speed ratio is high enough to close out a fight in two clean hits when paired with a fast Fighting Style. The Classic Knife and Icedagger are sleeper picks because their very fast swing speed lets you chain three hits before a slower weapon lands two, which wins trades through sheer volume.
Weapon Choice by Situation
-
1v1 duel: Darkheart + Kung Fu for the dash cancels, or Classic Knife + Boxing for raw speed
-
2v2 brawl: Chainsaw + Brawl for the burst, because your partner can clean up the stomp punish
-
Solo in public server: Pencil or Icedagger + Kung Fu, since you need mobility more than raw power
-
Holding a corner: Stop Sign + Guardian Angel, because the range and block make you hard to push
If you want to dig deeper into how melee weapons interact with macros, input timing, and your chosen fighting style, the advanced aim resource covers the mechanical fundamentals in detail. For Da Hood melee fights specifically, it explains why weapon swap speed and punch windup animations matter when chaining Kung Fu dashes into a Darkheart slash, and how sensitivity settings influence your ability to track a strafing opponent during a 1v1 duel or a 2v2 brawl in public servers.
Stomps, Counters, and Reading Recovery in Da Hood Melee Fights
A Stomp is the free punish you get when an opponent's swing whiffs or when they are caught in a stumble animation. It is one of the highest-damage single actions in the game relative to its input cost, and it resets the fight in your favor because the stomp animation has invulnerability frames on the back end.
Stomp Timing
The stomp input has to land within a tight window — roughly 0.3 seconds after the opponent's recovery frame begins. If you input too early, you get a normal swing instead of the stomp, and if you input too late, the opponent has already blocked or reset. Community testing suggests the reliable cue is the weapon-drop animation that plays at the end of a whiffed swing: the moment the opponent's weapon snaps back to idle, press E (or your bound stomp key) immediately.
| Punish Type | Input | Damage | Window |
|---|---|---|---|
| Stomp | E / bound key | High | 0.3s after recovery |
| Counter | Timed block | Medium | During wind-up |
| Trade | Left click | Variable | During active frame |
| Bash | After parry | Medium | 0.4s after parry |
Counter and Block Reading
Blocking in Da Hood is a directional input — you hold the key that matches the side the opponent is swinging from. The Counter follow-up only triggers if you block the attack and then input a swing within 0.15 seconds. Most players who fail at counters are reacting to the hit instead of the wind-up, which is too late. The correct read is the shoulder rotation that happens about 0.1 seconds before the active frame, and training that read is what separates mid-tier players from the top of the server.
Stomping a punished opponent only works if your team's reads are synced, because the recovery frames after a Counter whiff punish let a second player chain an unblockable direction swap before the victim can re-block. The advanced combat resource walks through how the same directional buffer that powers a Counter also feeds straight into a follow-up stomp window, so coordinating swing timing with your teammate is what turns a single block read into a guaranteed two-piece combo in Da Hood melee fights.
Putting It All Together: A 1v1 Melee Checklist
Before queuing into a real brawl, run through this short mental checklist, because in Da Hood melee fights the gap between a 40% and a 60% win rate over the first 20 fights almost always comes from preparation rather than raw click speed. The seven points below — crosshair placement, sensitivity tuning, fighting-style matchup, weapon-style synergy, circular strafing, punish timing on the recovery frame, and stamina tracking — are the exact factors that separate a 60% player from a 45% one, so treat each line as a non-negotiable gate before the round starts.
-
Crosshair placed on the opponent's upper chest, not their head
-
Sensitivity tuned so a single mouse-flick covers a 90-degree turn
-
Fighting Style chosen for the matchup (Boxing vs Slam, Kung Fu vs Brawl)
-
Weapon matched to the style (fast weapon + fast style, slow weapon + block style)
-
Movement is circle strafe, not linear strafe
-
Punish input on the recovery frame, not the active frame
-
Stamina monitored — empty stamina means empty hands
The underlying theme across all of this is that Da Hood melee fights are a reading game, not a clicking game. The player who reads the wind-up wins the trade, and the player who reads the recovery wins the stomp. Stack those two reads on top of a tuned crosshair and a matching weapon-style combo, and you will start closing out brawls you used to lose.
Frequently Asked Questions
What is the best fighting style for Da Hood melee fights in 2026?
Boxing is the most consistent pick for 1v1s because its fast swing speed out-trades slower styles, while Kung Fu is the highest skill-ceiling option for movement-heavy players. According to community data, the meta shifts slightly with each update, but the fast-swing styles have held S-tier for most of 2026.
How do you dodge in Da Hood?
Dodging is a directional input combined with a jump or dash from the Kung Fu or Brawl style. The timing window is roughly 0.1 seconds before the opponent's active frame, which is the same window you would use to parry. Practice the dash cancel in a private server before relying on it in real fights.
What sensitivity should I use for Da Hood melee fights?
Most experienced players run a mouse DPI between 800 and 1600 with in-game camera sensitivity around 0.3 to 0.5. The exact number depends on your mousepad size, but the goal is to be able to track a strafing target without overshooting. A full breakdown is in the settings tuning resource.
Are macros allowed in Da Hood for melee fights?
The Roblox Terms of Service prohibit input automation, and the Da Hood developer has issued bans for macro use in the past. The safer path to faster inputs is training your muscle memory on circle strafes and recovery reads, which is what most top players rely on.
What is the best weapon for stomping in Da Hood melee fights?
The Chainsaw and Darkheart are the strongest stomp-finish weapons because their damage is high enough to close out a fight from a single punish. Pair them with a fast Fighting Style so you can chain the stomp into a follow-up swing before the opponent recovers.