
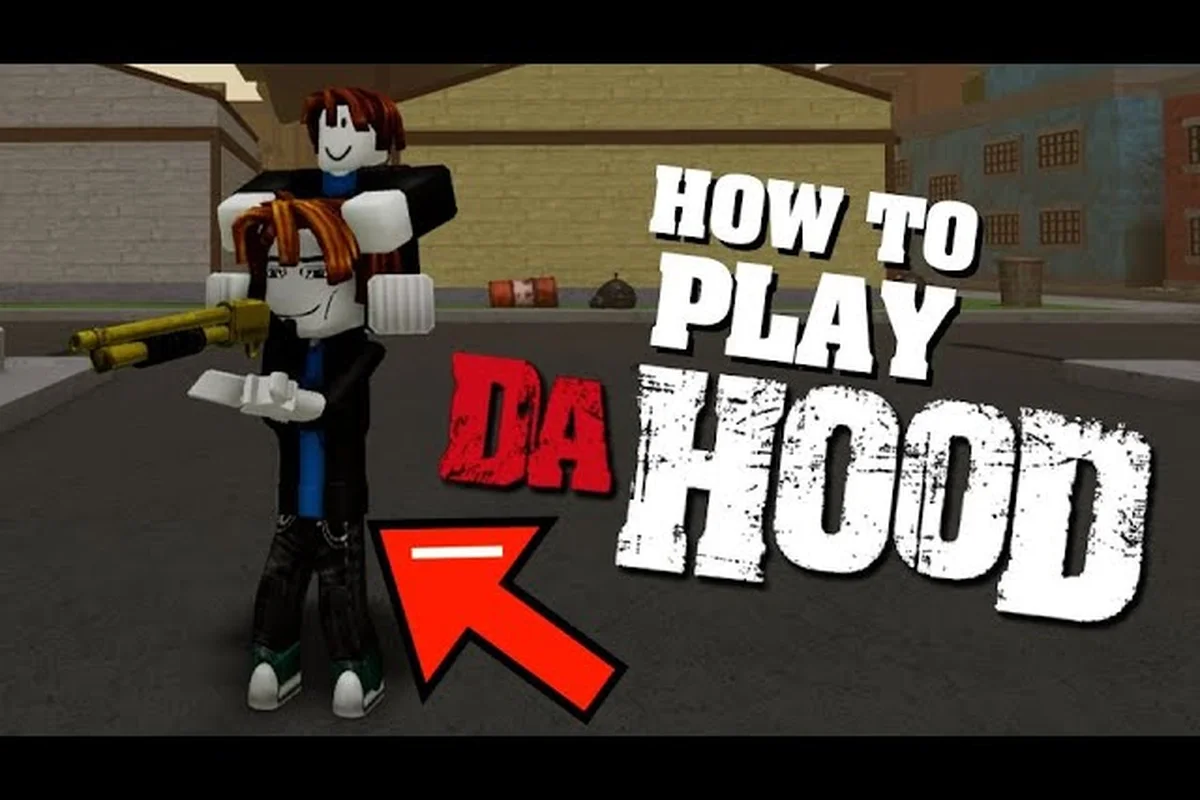
Dropping into Da Hood for the first time can feel like walking onto a basketball court where nobody told you the rules and everyone already has a gun. The lobby is loud, the streets are hostile, and cash — the currency that decides whether you eat or get dropped — is brutally scarce. This complete Da Hood walkthrough breaks the experience into a clean tutorial flow so you can learn the basics, stack early money, and survive long enough to actually enjoy the chaos instead of respawning every forty seconds.
Da Hood is a Roblox action experience built around gang-versus-gang street combat, and according to the official Da Hood page on Roblox, the loop is intentionally unforgiving for fresh players. Expect a real Da Hood tutorial to demand map awareness, weapon mastery, and a feel for when to fight versus when to run. Below is the full step-by-step path from spawn to a loadout that lets you hold your own against tryhards, complete with the numbers, zones, and timings that veteran players rely on.
Spawn, First Cash, and the Core Da Hood Basics
Your first sixty seconds in Da Hood decide the trajectory of your entire session. The spawn pad drops you into the central district with zero cash, a default fist, and no armor, which means almost any player who spots you can erase you with a single shotgun blast. According to community data reported by long-time players, the most consistent first-minute cash comes from low-risk zones like the ATM row behind the grocery store and the small bus stop near the basketball court. You are not trying to win a fight here — you are trying to bank enough for a bat or a pistol before someone else finds you.
The single biggest rule of the Da Hood basics is that cash is health. Armor, ammo, and even revival items all cost money, and the game's economy punishes reckless early spending. A reasonable target for the first ten minutes is around $3,000 in pocket cash — enough to buy a body armor plus a mid-tier pistol from the local gun shop. Beginners who blow their first $500 on cosmetics or taunts usually end up broke and respawning in a loop.
| First-Minute Action | Expected Cash | Risk Level | Why It Matters |
|---|---|---|---|
| ATM behind grocery store | $100–$300 | Low | Fastest legal cash; runs in under 8 seconds per withdrawal |
| Bus stop pickup (tip jar) | $50–$150 | Low | Stack of small payouts, no combat required |
| Dropped loot on the street | $20–$80 | Medium | Random but builds over time; never chase across open ground |
| Bounty hunting new players | $400–$1,200 | High | Risky when unarmed, so skip until you have at least a bat |
Walk — do not run — between these cash spots during your first two minutes. Sprinting generates an audio cue that experienced players track instinctively, and it also drains stamina that you may need if someone rounds the corner. A good early habit is to keep one eye on the minimap and the other on rooftop sightlines, because most first kills in Da Hood come from a player with a sniper perch you never noticed.
Understanding the Loadout, Weapons, and Combat Range
Once you have scraped together your first real kit, the Da Hood tutorial shifts from "stay alive" to "deal damage intelligently." The game runs on three effective combat ranges — melee, mid-range, and long-range — and each one favors a different weapon archetype. Ignoring this triangle is the fastest way to lose a duel you should have won.
| Range | Best Weapon Class | Optimal Engagement | Common Mistake |
|---|---|---|---|
| Melee (0–15 studs) | Bat, Knife, Katana | Strafe and click on rhythm; use animation cancels | Holding M1 and praying |
| Mid (15–40 studs) | Pistol, Double Barrel, Revolver | Aim at chest, flick to head, slide between shots | Standing still while shooting |
| Long (40+ studs) | Tactical Shotgun, AR, Sniper | Pre-aim common lanes, fire once, reposition | Spraying and giving away position |
Weapon pricing also follows the range hierarchy. According to community testing, a Double Barrel Shotgun runs around $2,200, a Tactical Shotgun around $3,500, and a basic Combat Rifle near $5,500. That last number is important: do not grind for the rifle on day one. A pistol plus a melee weapon beats an expensive rifle you cannot aim yet, because every miss costs you reload time and stamina you do not have.
The second half of the Da Hood basics in combat is the animation cancel. Almost every weapon has a small input window between swings or shots where you can block, dodge, or swap guns to skip the recovery frames. Players who learn this cancel timing early double their effective damage output without spending another dollar. A simple drill is to pick a private server, grab a bat, and practice left-click → right-click → left-click on a wall for ten minutes. The muscle memory pays for itself the next time someone tries to bunny-hop away from you.
Money Routes, Zones, and the Da Hood Survive Mindset
Da Hood survive is not a single trick — it is a layered strategy built around three pillars: where you farm, when you fight, and when you walk away. Most new players fail because they treat the map as one giant arena, when in reality it has clearly defined safe, neutral, and danger zones.
| Zone Type | Examples | Player Density | Best Activity |
|---|---|---|---|
| Safe Zone | School interior, Bank lobby, Police station | Low (PvP disabled) | Healing, gear swaps, planning routes |
| Neutral Zone | Side streets, alleyways, parking lots | Medium | Cash farming, short fights, retreating |
| Danger Zone | Main Street, Basketball Court, Park | High | Bounty hunting, gang wars, bossing bounties |
The fastest legal money route in the game loops the Bank interior, the Grocery Store, and the Clothing Shop in a tight triangle. According to community reports, a clean run of all three cash registers takes around 90 seconds and nets roughly $800–$1,200 if no one interrupts you. Interruption is the keyword — the moment you hear footsteps or a gunshot while inside a building, abort the loop and reposition. Greed kills more new players than any sniper.
The danger zones are where the real money is, but they are also where bounties land. When you accumulate a bounty over $5,000, every player on the server gets a directional ping toward your location. The only sane response is to immediately dive into a safe zone, drop the cash on armor or a friend, and reset your visibility. Counterplay against bounties is covered in depth in animation packs and bounty survival tactics, which lays out the exact disengage patterns that high-tier players use to shake a chasing squad.
Survival also means respecting the Safe Zone mechanics inside schools and police stations. According to community data, you can heal slowly inside these buildings but cannot shoot or take damage, making them perfect reset points. The trap is staying too long — players will camp the exits and catch you the instant you step out. A clean pattern is heal → count to three → jump-cut sideways out a window → sprint to the nearest cover. Predictable exits are how new players feed easy kills to tryhards.
Movement, Dodging, and Outplaying Better-Aimed Players
Raw aim will lose to a more experienced player almost every time, which is why movement is the great equalizer in any honest Da Hood tutorial. The game rewards strafing, sliding, jump-cutting, and baiting more than it rewards perfect crosshair placement, and the most frustrating deaths new players suffer are the ones where the opponent clearly missed but still killed them because they froze under pressure.
Three movement techs deserve a place in your muscle memory on day one. The jump cut is a quick strafing input that throws off enemy aim tracking; bind it to a comfortable key and trigger it every time you turn a corner into someone. The slide cancel chains a sprint into a crouch into a jump to break line of sight without losing horizontal speed, which is devastating when escaping a sniper. The backpedal bait is a fake retreat that lures a chasing player into a melee swap you were already pre-buffered for.
Movement, however, is not just about dodging bullets — it is also about controlling the duel range. A shotgun user wants you close, an AR user wants you at mid, and a sniper wants you at long. If you find yourself at the wrong end of their preferred band, your job is to close or extend the gap before the first shot lands. Deep drills for these duels are outlined in the running-away and movement techniques guide, which goes into juking, spinning, and recoil control in far more detail than this walkthrough can fit.
Stamina management ties directly into movement. Every sprint, dodge, and jump costs stamina, and the moment you hit zero, you are locked into a sluggish walk for about two full seconds — more than enough time for a patient enemy to line up a headshot. Train yourself to leave a buffer of about 20% stamina at all times. That cushion is the difference between escaping a 1v2 and feeding two easy kills to the squad that just rolled up on you.
PvP Fights, Bounties, and the Long Game
Once you have cash flow, a working loadout, and movement tech in your fingers, the Da Hood tutorial transitions into PvP fundamentals. The first thing to internalize is that not every fight is worth taking. A common heuristic used by experienced players is the 3:1 rule: only engage a solo target if you have at least a 3x advantage in health, position, or weapon tier. Breaking this rule is how players end up feeding a $10,000 bounty to the very person they tried to gank.
| Situation | Recommended Action | Reasoning |
|---|---|---|
| 1v1, equal loadout, neutral ground | Take the fight if warmed up | Skill matchup, fair cash reward |
| 1v2 or worse | Disengage immediately | Survival value > loot value |
| Enemy has sniper, you have shotgun | Close the gap fast, slide-cancel at 15 studs | Force a panic swap or melee |
| You hold a bounty over $5,000 | Drop to safe zone, offload cash | Reset aggression pressure |
| Gang war active in your farm zone | Rotate to a quieter cash loop | Risk-adjusted return drops sharply |
Melee fights deserve a special mention because they are the most skill-expressive duels in the game. Two equally armed players swinging bats at each other will trade hits for a while, but the player who reads the animation cancel window first wins the exchange nearly every time. The melee fights and aiming fundamentals guide walks through the exact click rhythm and crosshair placement that turn a chaotic bat fight into a controlled duel. It is worth reading once you have the basics down, because melee is the cheapest and most reliable way to farm early cash without spending a single bullet.
For the long game, your goal is to build a reserve wallet of $10,000–$15,000 so a single death does not reset your entire session. Players who run a "war chest" habit can afford to take smart risks, respawn teammates, and rebuy armor without panic-grinding ATMs after every duel. Once you reach that band, the entire game opens up — bounty hunting becomes profitable, gang wars become winnable, and your survival rate climbs dramatically because you are no longer playing scared.
Frequently Asked Questions
How long does a typical Da Hood walkthrough take before I can hold my own?
Most new players need around three to five hours of active play before they stop dying instantly. The honest answer is closer to eight hours if you are also learning movement tech, because aim and strafing both need real muscle memory. Consistency matters more than session length, so 30-minute daily runs beat one six-hour binge every time.
What is the best starter weapon in the Da Hood tutorial phase?
The bat is the strongest starter because it costs almost nothing, has solid damage, and forces you to learn melee spacing. Once you can land bat hits consistently, upgrade to the Knife for one-tap potential or the Double Barrel Shotgun for panic defense at close range. Avoid sniping until you have at least 20 hours of play, because missing a sniper shot exposes your position for free.
How do I avoid dying to bounties and tryhards while still farming cash?
Stay out of Main Street during peak hours, rotate between two or three quiet cash loops, and never carry more than $5,000 on you at any time. If a bounty lands, dive into a school or police station, offload cash to a friend, and reset your route. Predictable paths are how players get farmed, so mix up your loops every few minutes.
Where can I practice without losing gear or progress?
Private servers are the cleanest training ground and cost a small Robux fee. Set up duels with a friend, drill your bat animation cancels, and practice slide-canceling through doorways until it is second nature. Public servers reward risk-takers, so once you can win seven out of ten duels in a private match, you are ready for the chaos of public lobbies.
Is the Da Hood basics loop different on mobile compared to PC?
Yes — mobile players have access to gyroscope aim and auto-aim assists, but they lack the precision flicking that PC players rely on. According to community testing, mobile players perform best at mid-range with pistols and shotguns, while PC players dominate at long range with rifles and snipers. Pick the range that matches your platform, and you will close the skill gap much faster than trying to force a cross-platform playstyle.