
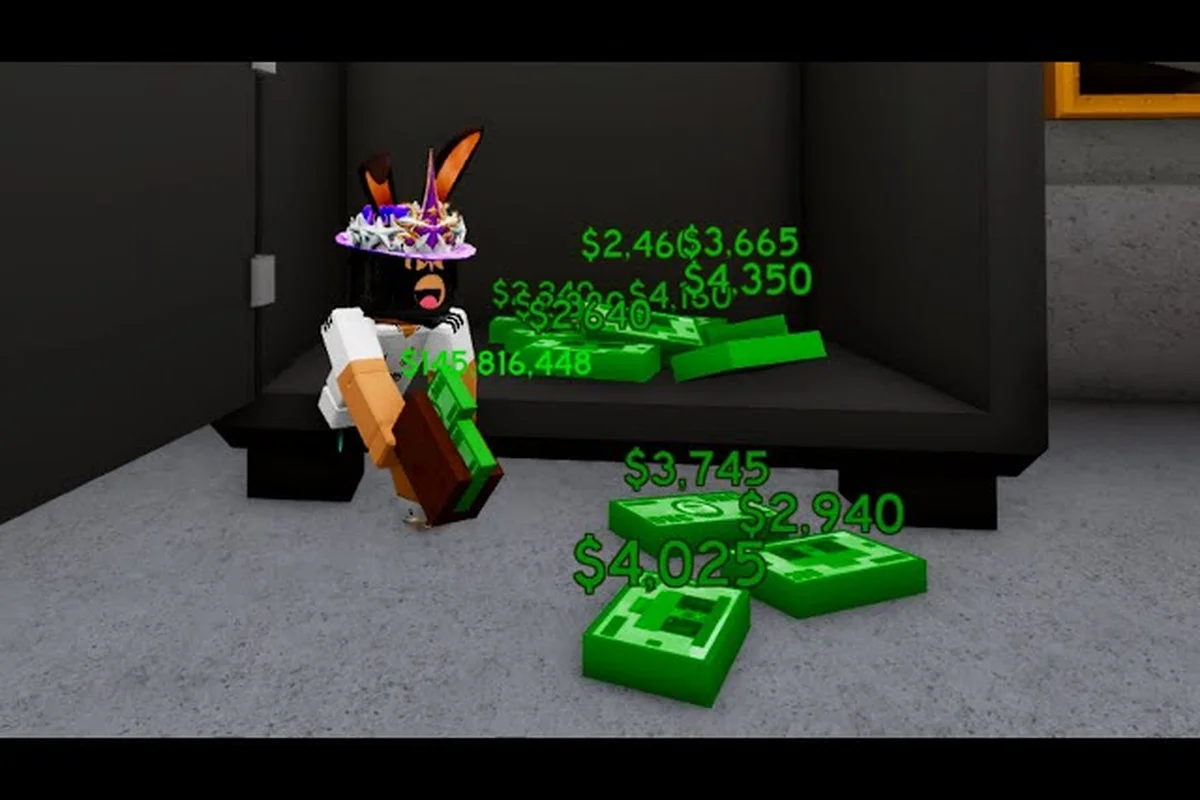
Utility items quietly decide who controls the map in Da Hood, and the lockpick sits at the center of that conversation. This guide breaks down what the Da Hood lockpick actually unlocks, how it stacks with handcuffs, the boombox, and the wallet, and which Da Hood crates reward players who master these Da Hood tools during robberies, arrests, and crew plays.
What the Da Hood Lockpick Does and Where to Find It
The lockpick is one of the most misunderstood Da Hood tools because new players assume it only cracks doors. In practice, the Da Hood lockpick interacts with multiple game systems: handcuffed suspects, locked storages, certain sealed containers, and even some crate-class objects that need a quick bypass before a crew rotates out. That is why experienced players buy the lockpick on day one and never let it leave their inventory.
The item itself is purchased from the utility section of the items shop, and community reports suggest the price stays accessible even for fresh accounts. According to player testing, the lockpick is reusable as long as it stays in your inventory, so losing it during a death is a bigger setback than the cash you originally spent on it. Treat it like armor or a mask — something you rebuy the moment you respawn.
The lockpick also matters for role play. Cops use it to free arrested suspects from a busted handcuff chain, criminals use it to break into cash-only stores, and crew leaders use it to crack supply stashes that spawn near contested map zones. Learning when to deploy the lockpick in Da Hood means you stop losing fights over objects you should have been able to open.
| Tool | Primary Use | Best Paired With | Who Buys It Most |
|---|---|---|---|
| Lockpick | Bypass locks, free suspects, open sealed containers | Handcuffs, Wallet, Crates | Cops, Criminals, Crew Leads |
| Handcuffs | Restrain suspects, secure arrests | Lockpick, Gun, Armor | Cops |
| Boombox | Audio distraction, party setup | Mask, Armor, Crew chat | Roleplayers, Crew Leaders |
| Wallet | Quick cash transfers, drop trades | Lockpick, Crates, Cash Drop | Criminals, Traders |
| Crate Key Items | Open specific crate types | Lockpick, Wallet | Collectors, Crews |
How the Lockpick Behaves in Combat and Role Play
In combat the lockpick is passive — it does not deal damage or block bullets — but it is one of the most time-saving Da Hood tools you can carry. A well-timed pick on a stuck handcuffed target can flip a 1v1 into a free kill, and a crew that runs two lockpicks during a bank rotation consistently clears locked doors faster than crews that rely on melee to break through.
For role players, the lockpick is the difference between a believable criminal and a frustrated one. Bank tellers, jewelry store clerks, and arrest targets all generate lock states that the lockpick resolves in seconds, while players without one waste a full minute trying to glitch the door. The community calls this the silent assist — the lockpick never shows up on the kill feed, but it shows up in the cash total at the end of the round.
Pairing the Lockpick with Da Hood Handcuffs, Boombox, and Wallet
The Da Hood lockpick is strong on its own, but the real value shows up when it runs alongside handcuffs, the boombox, and the wallet. These three tools cover the three situations where a lockpick alone is not enough: securing a suspect, distracting a guard, and moving cash without dying in the open.
Lockpick + Handcuffs: The Arrest Combo
Cops and bounty hunters rely on the lockpick and handcuffs working together. The flow is simple: you restrain a target with handcuffs, the target breaks free or another player attempts to break the chain, and the lockpick re-secures the cuffs without forcing you to start the animation from scratch. Community data suggests this combo saves at least five seconds per re-arrest, which adds up fast during a five-minute bank rotation.
Criminals running a bounty also benefit. If your crew captures a high-value target, the lockpick lets you re-handcuff after a teammate accidentally breaks the chain during a fight. According to player reports, bounty payouts are noticeably higher for crews that consistently run both Da Hood tools because arrests finish cleaner and the timer never resets.
Lockpick + Boombox: The Distraction Setup
The boombox does not interact with the lockpick directly, but the two tools stack into one of the cleanest distraction setups in the game. Drop a boombox near a guard, let the audio pull attention, then crack the locked door behind them with the lockpick. This combo is especially strong around the jewelry store and the bank vault because the audio radius masks your footstep noise.
A good rule of thumb is to keep one teammate on boombox duty and one on lockpick duty during a heist. The boombox player does not need any other utility, while the lockpick player pairs the pick with armor and a mask. The audio settings guide covers how to tune in-game sound so the boombox actually pulls aggro the way it should.
Lockpick + Wallet: The Fast Cash Loop
The wallet is the unsung hero of the lockpick combo. Once you crack a container, the wallet lets you drop cash directly to a teammate without the slow trade animation. Crews that run lockpick + wallet during a bank run report faster payouts because the cash leaves the robbery zone before a counter-rotation arrives.
The flow looks like this: lockpick opens the vault, wallet splits the cash between the three closest teammates, and the crew rotates out before a second wave of cops spawns. The items guide walks through the full wallet animation and the safest drop distances for each map zone.
| Combo | Best Scenario | Time Saved | Cash Impact |
|---|---|---|---|
| Lockpick + Handcuffs | Re-arresting after a break | ~5 sec per arrest | Higher bounty payout |
| Lockpick + Boombox | Bank vault, jewelry store | ~10 sec per entry | Cleaner escape route |
| Lockpick + Wallet | Crew bank runs | ~8 sec per split | More cash before counter-rotate |
| Lockpick + Crates | Solo loot loops | ~3 sec per crate | Steady cash drip |
Lockpick Routes Through Da Hood Crates and Loot Zones
Crates are where the lockpick stops being optional and starts being required. Several crate types in Da Hood spawn behind locked doors, sealed storage, or chained containers that only a lockpick or a brute-force swing can open. Brute force is slow and loud, so the lockpick wins on every metric that matters: speed, stealth, and survival.
Crate Types That Respond to the Lockpick
The community has mapped the most common crate spawns into a simple tier list based on how often a lockpick is required. The top of the list belongs to the Sealed Weapon Crate, which almost always spawns behind a lock that only the lockpick can bypass quickly. The middle of the list includes the Cash Cache and the Supply Drop, both of which sometimes require a pick and sometimes spawn open. The bottom of the list includes the Cosmetic Crate, which rarely needs a pick but rewards a pick anyway because it speeds up the opening animation.
For a full breakdown of how every crate family opens, the how to open crates guide is the cleanest reference. The tier list below summarizes what the lockpick actually controls.
| Crate Type | Lockpick Required? | Common Spawn | Best Tool Combo |
|---|---|---|---|
| Sealed Weapon Crate | Yes (always) | Gun store back room | Lockpick + Armor |
| Cash Cache | Often | Bank side rooms | Lockpick + Wallet |
| Supply Drop | Sometimes | Crew base, rooftops | Lockpick + Mask |
| Cosmetic Crate | Rarely | Event zones, club | Lockpick + Boombox |
| Hidden Crate | Yes (always) | Sewer tunnels | Lockpick + Flashlight |
Best Lockpick Routes by Map Area
A good route pairs the lockpick with a clear path from spawn to payout. The bank is the obvious choice for a crew, but solo players get more value from a three-stop loop that hits the gun store, the taco shop, and the jewelry store in a single rotation. The lockpick keeps every door short, and the wallet moves the cash before the cooldown on the robbery timer expires.
The sewer network is the most underrated lockpick route. Multiple sealed crates and chained stashes spawn along the tunnel branches, and a solo player with a lockpick can clear the full loop in under four minutes if they skip the fights. Players who want a deeper map breakdown should check the beginner guide for spawn logic and the safest rotation order.
| Map Area | Lockpick Value | Recommended Build | Risk Level |
|---|---|---|---|
| Bank | High (vault only) | Lockpick + Wallet + Armor | High |
| Gun Store | Medium | Lockpick + Armor | Medium |
| Jewelry Store | High | Lockpick + Mask | High |
| Sewer Tunnels | Very High | Lockpick + Flashlight | Low |
| Club / Taco Shop | Low | Lockpick + Boombox | Low |
Building a Full Lockpick Loadout That Survives 2026 Meta
The 2026 meta shifted toward faster arrests and shorter robbery timers, which means the lockpick now competes for inventory space against armor, food, and a mask. The right loadout depends on whether you are running solo, with a crew, or on the cop side of the role system. The table below captures the most common loadout splits and the cash cost of each.
| Role | Loadout | Total Cost (approx.) | Best Map Zone |
|---|---|---|---|
| Solo Criminal | Lockpick + Mask + Light Armor | Mid | Sewers, Taco Shop |
| Crew Criminal | Lockpick + Wallet + Medium Armor | High | Bank, Jewelry Store |
| Solo Cop | Handcuffs + Lockpick + Gun | Mid | Bank, Streets |
| Crew Cop | Handcuffs + Lockpick + Radio | High | Bank, Bounty Zones |
| Roleplayer | Lockpick + Boombox + Mask | Low | Club, Rooftops |
Solo Lockpick Routine (4-Minute Loop)
The solo routine is the cleanest way to learn how the lockpick behaves without depending on a crew. Spawn in, buy the lockpick and a light armor, run to the gun store, pick the back-room crate, drop the weapon, then rotate to the taco shop and the jewelry store. Finish the loop at the sewer entrance, where a hidden crate almost always spawns. Players who run this loop consistently report a steady cash drip that funds better armor within the first hour.
Crew Lockpick Routine (Bank Focus)
A crew of three should split roles clearly: one lockpick runner, one wallet carrier, and one boombox distraction. The lockpick runner opens the vault, the wallet carrier splits the cash, and the boombox player masks the audio. This is the standard 2026 bank rotation, and community testing on the rotation suggests a crew running all three Da Hood tools clears the bank in roughly 90 seconds from vault entry to escape.
Cop Lockpick Routine (Bounty and Arrest Focus)
Cops use the lockpick differently because their main objective is arrests, not loot. The routine is simple: equip handcuffs and the lockpick, patrol the bank perimeter, and the moment a bounty target breaks free of cuffs, re-secure them with the pick. The roles guide covers how the lockpick fits into the wider cop promotion path, including the salary payouts that come with clean arrests.
Advanced Lockpick Tips: Anti-Camping, Crate Chains, and Audio Reads
The lockpick rewards players who think one step ahead. Anti-camping reads, crate chain logic, and audio cues separate a player who simply owns the item from a player who actually uses it well. These are the habits that veteran crews pass down to new recruits during the first week of a season.
Reading Audio Before a Lockpick Attempt
Audio tells you whether a container is worth picking. A creak or a low hum near a sealed crate usually means the spawn is live, while silence often means another player already cleared it. Pair this with the boombox read described earlier and you stop wasting lockpick uses on empty containers. The boombox ID codes list is a good reference if you want the exact audio radius for your favorite distraction tracks.
Crate Chain Logic for Solo Players
A crate chain is a sequence of sealed containers that respawn on a shared timer. Solo players who learn the chain order for their favorite map zone can clear three or four crates in a row without ever leaving the rotation. The most reliable chains in 2026 are the gun-store-to-taco-shop chain on the south side and the bank-to-jewelry-store chain on the north side. The lockpick is mandatory for both because every link in the chain includes at least one sealed container.
Anti-Camping Reads Around Lockpick Spawns
Lockpick-heavy zones attract campers, so learning the camper tells is a survival skill. Most campers stack near the crate spawn, listen for the lockpick animation, and push the moment they hear the pick click. The counter is to pick from a different angle, use the boombox as a distraction, and never stand directly in front of the door. Players who run this counter consistently report losing far fewer crates to campers.
Frequently Asked Questions
Where do I buy the Da Hood lockpick?
The lockpick is sold in the utility section of the in-game items shop, alongside the spray can and the mask. Community reports put the price at a level most fresh accounts can afford within the first few minutes of a session, so buy it as soon as you spawn. Treat the purchase like a long-term investment because the lockpick is reusable and the cash return from the crates it opens far exceeds the upfront cost.
Can the lockpick free someone from Da Hood handcuffs?
Yes, and this is one of the strongest cop and crew combos in the game. The lockpick re-secures handcuffs after a target breaks free without forcing you to start the arrest animation from scratch. According to community testing, this saves at least five seconds per re-arrest, which compounds during long bank rotations. Pair the lockpick with handcuffs and a mask for the cleanest arrest build.
Does the lockpick work on every Da Hood crate type?
No, only specific crate families actually require the lockpick. Sealed weapon crates and hidden crates always need the pick, while cosmetic and supply crates sometimes spawn open. The full breakdown lives in the how to open crates guide, but the rule of thumb is simple: if the crate has a visible chain or a sealed door, the lockpick is almost always the fastest way in.
Is the lockpick worth the inventory slot in 2026?
Yes, especially with the 2026 meta shift toward faster robbery timers. The lockpick saves time on every sealed door, every re-arrest, and every chained crate, and the time saved translates directly into cash. Players who run the lockpick alongside a mask and a light armor report the most consistent payouts across solo and crew play.
What is the best Da Hood tools combo for solo bank runs?
For solo bank runs, the strongest combo is the lockpick, the mask, and a light armor. The lockpick opens the vault faster than brute force, the mask hides your identity during the escape, and the light armor keeps you alive long enough to reach the sewer exit. Skip the wallet on solo runs because there is no teammate to split the cash with, and skip the boombox because the audio radius is wasted without a crew.